
Last updated November 15, 2026
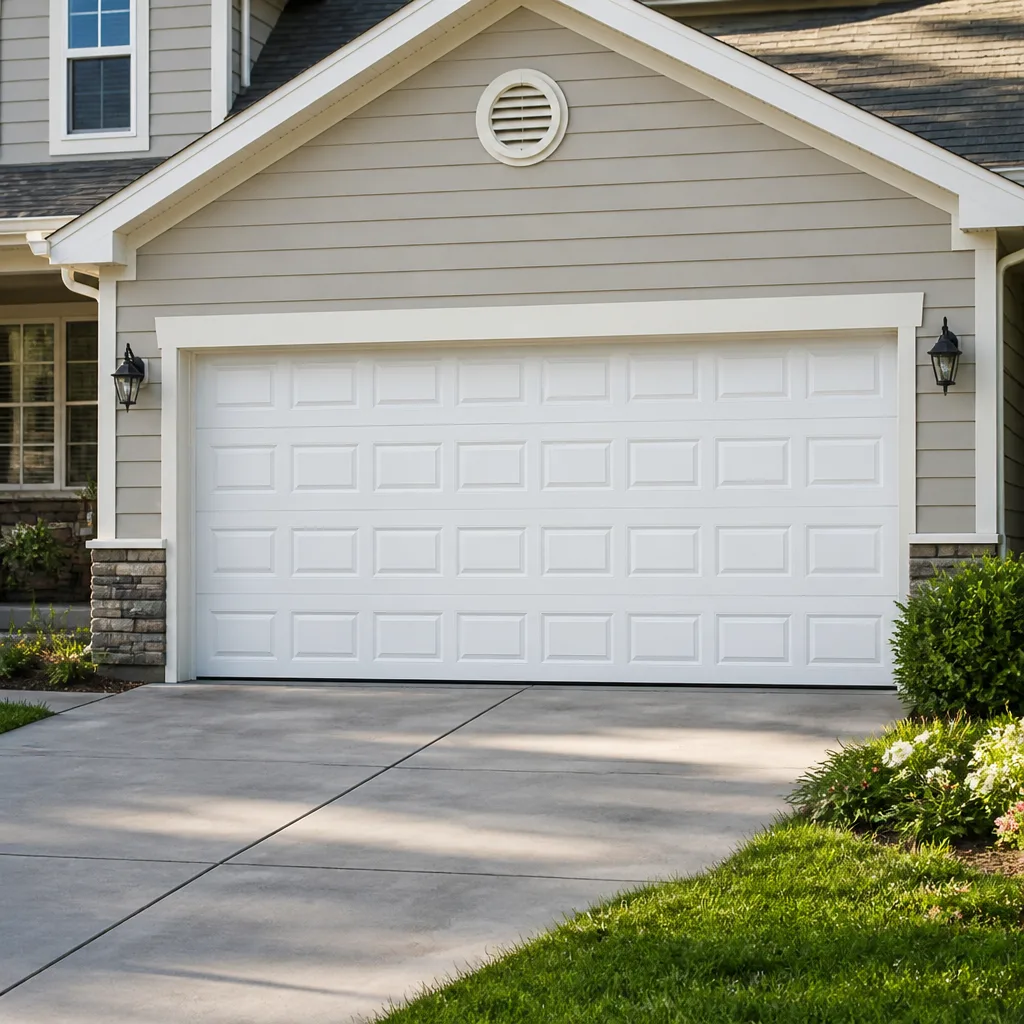 Raised-panel steel
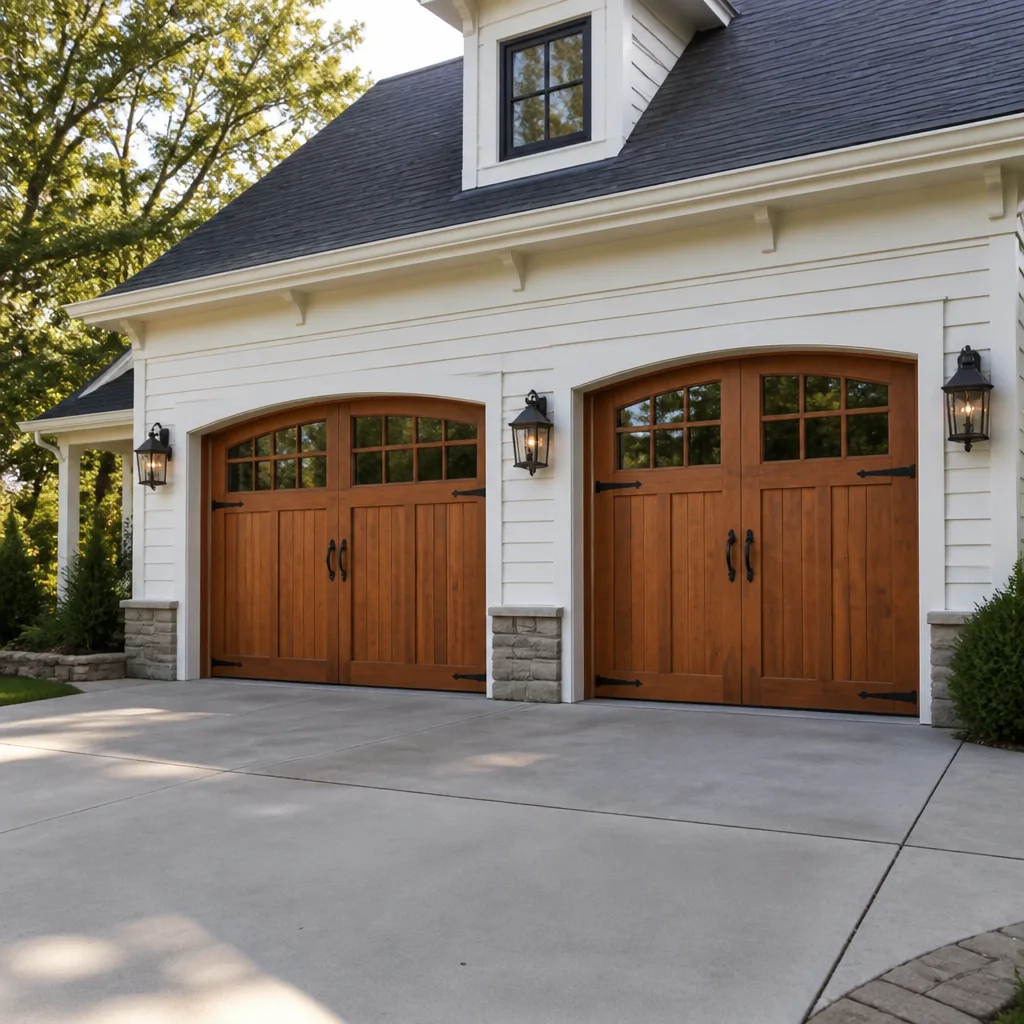 Carriage house
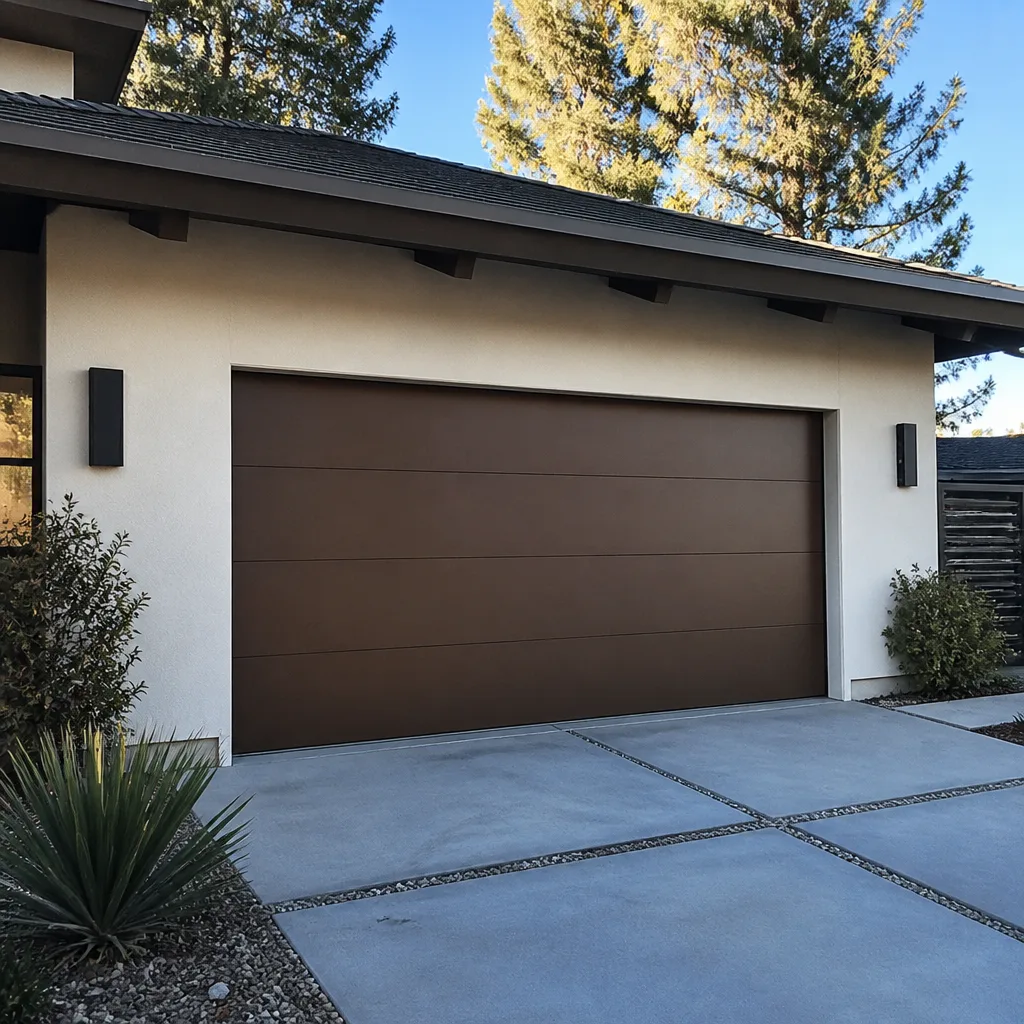 Modern flush
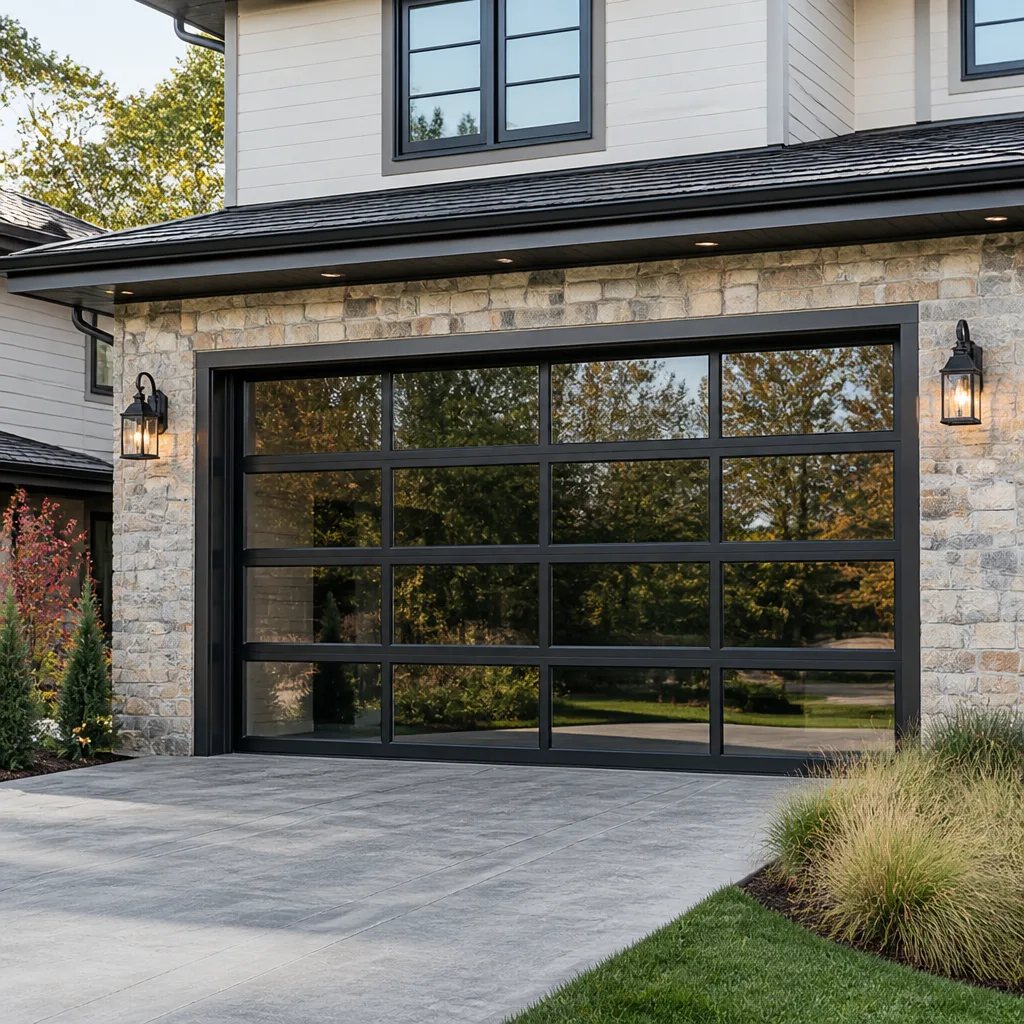 Full-view glass
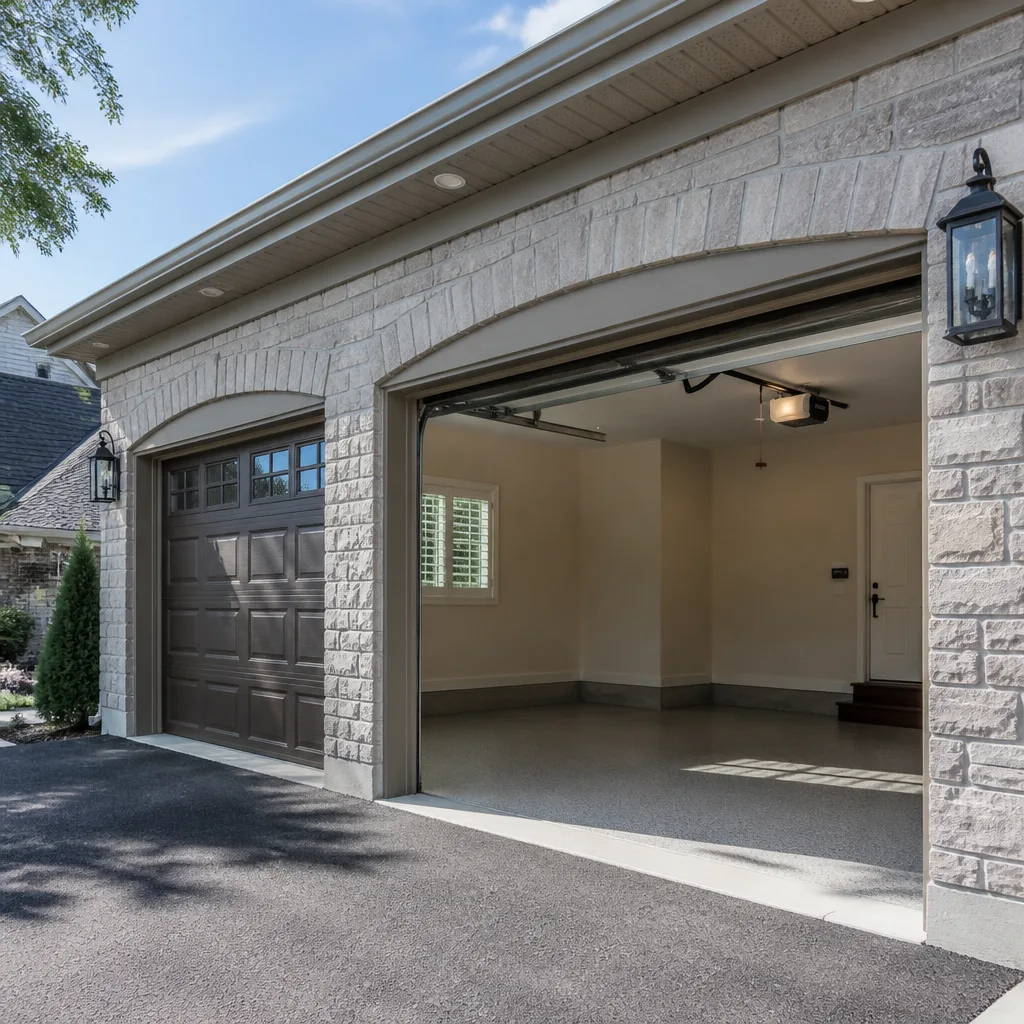 LiftMaster openers
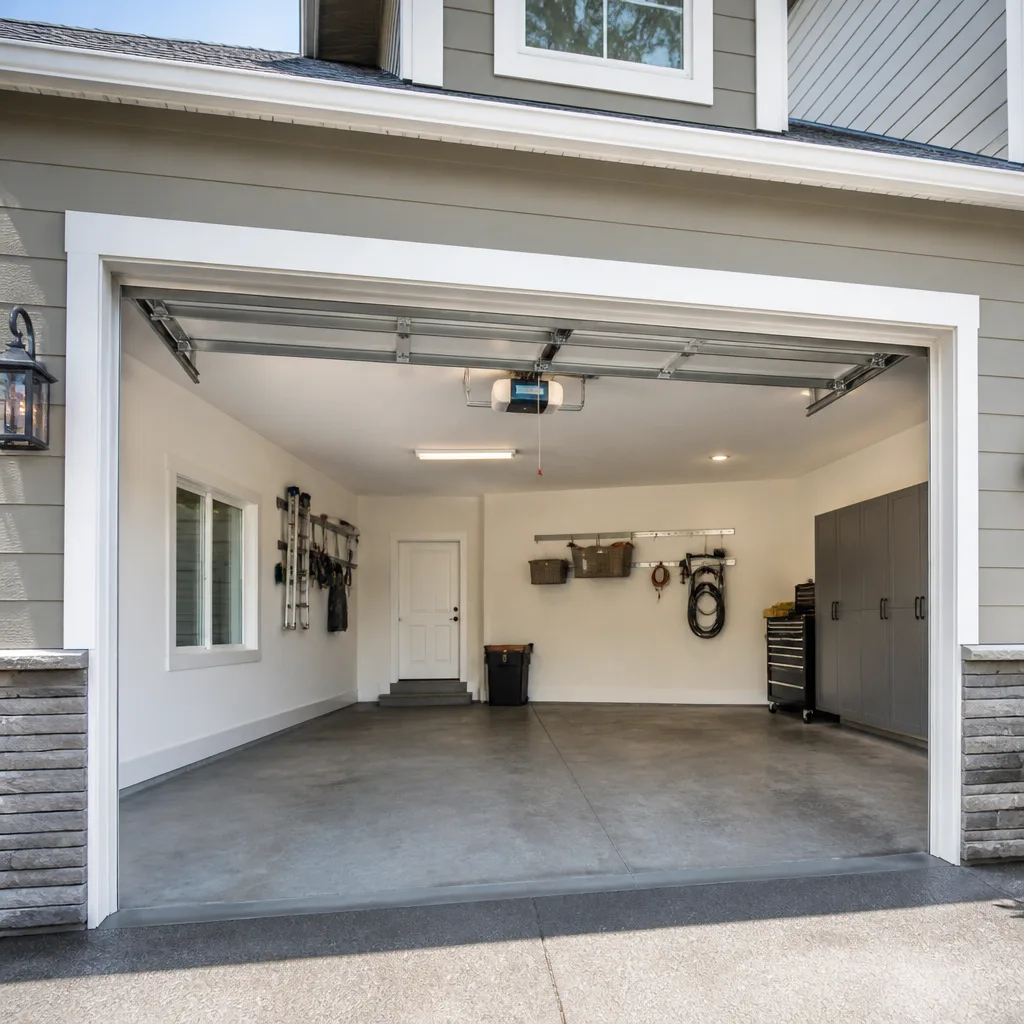 Chamberlain openers
Full 25-point door and opener safety check with every visit - springs, cables, rollers, tracks, and your LiftMaster or Chamberlain opener included
You get a price before we start. It does not change when the pro arrives.
Get your free estimateGarage Door Warning Signs: A Ventura Homeowner’s Reference Guide
By the time a garage door starts grinding or banging, the problem has usually been visible for months. That’s the part that surprises most homeowners. A door doesn’t fail in a day; it telegraphs the failure through small visual changes first, and if you live in Ventura, those changes happen faster than in dry inland towns. The mild climate here is gentle on people and hard on hardware, and the telltale signs show up as discoloration, surface texture, and the way a cable starts to bloom loose strands rather than the way a door sounds. In this guide we’ll walk you through what those signs look like, which ones mean call today, which ones can wait for a scheduled visit, and how to read brand-specific behavior in LiftMaster, Chamberlain, and similar systems.
Quick Answer
The most reliable early warning signs of a garage door problem in Ventura are visual: rust blooming at spring and hinge points, frayed cable strands, cracked or curled weatherstripping, and uneven gaps at the floor. Sounds and opener hesitation come second. If you see a broken spring, a snapped cable, or a door hanging crooked, treat it as urgent and don’t operate the door yourself.
Styles & brands we work with
- Raised-panel steel
- Carriage house
- Modern flush
- Full-view glass
- LiftMaster openers
- Chamberlain openers
Table of Contents
- Why Visual Signs Beat Sounds in Ventura
- Rust Staging: Reading Corrosion in Order
- What Frayed Cables Are Telling You
- Weatherstripping and Seal Degradation
- When a Sound Is an Adjustment vs. a Failure
- Decoding Opener Behavior Changes
- Urgent vs. Can-Wait: Honest Triage
- Brand-Specific Warning Signs
Why Visual Signs Beat Sounds in Ventura
In a lot of places, the first thing a homeowner notices is noise. A door squeals, bangs, or rattles and that triggers the call. In Ventura, the more useful diagnostic is what the door looks like. Our technicians have up to 15 years of experience and nearly all of them will tell you the same thing: by the time the door is loud, the visual evidence was already there.
The reason is simple. Ventura’s climate is mild but it still moves through distinct day-night humidity swings, and the salt-adjacent humidity and morning moisture move through the metal parts of your door hundreds of times a year. Each cycle builds a thin layer of oxidation at the contact points where two pieces of metal meet: the hinges, the spring coils, the cable drums. You can see this long before you can hear it.
That’s why we tell every Ventura homeowner to do a five-minute walkaround on the door once every few months. Don’t do it with a flashlight at night. Do it in daylight, standing on the driveway, looking at the door from a few angles:
- Look at the springs across the top of the door track. Do you see any orange-brown tint at the coils?
- Look at each hinge knuckle. Is the metal darker at the joint than on the flat of the plate?
- Look at the cables on both sides. Are the strands clean and tight, or are there thin whiskers?
- Look at the bottom seal. Is it still flat against the floor, or has it curled?
- Look at the gap between the door and the frame at each corner. Is it the same on all four?
These five things will catch more problems than listening ever will. If you do find a problem, garage door repair is the service line for it.
Rust Staging: Reading Corrosion in Order
Rust is not a single event. It stages through a predictable sequence, and each stage tells you a different thing about how much time you have. This is one of the places where coastal-adjacent California homes differ from inland ones: the ambient humidity means surface corrosion begins earlier and progresses through the stages faster than a homeowner might expect.
Stage 1: Surface Haze
The first stage looks like a faint brown-orange tint on the bright zinc coating of a hinge or spring. It wipes off with a rag and light oil. Nothing is structurally compromised yet. This is a maintenance signal, not a repair signal. Keep the joints oiled and move on.
Stage 2: Pitting
Now the surface has small rough spots that don’t wipe off. Run a fingernail across the surface; if it catches, the metal has started to pit. This is where we start losing strength in a hinge pin or spring coil. Pitting on hinges is usually small; pitting on a spring is where the real risk begins because springs are under constant tension.
Stage 3: Flaking and Metal Loss
Flaking is the third stage. The coating on the metal has lifted, the surface underneath is pockmarked, and the metal feels thinner at that spot. Any spring that has reached flaking should be considered at the end of its life even if the door is still lifting. Hinges and rollers that have reached this stage can suddenly bind or snap.
Stage 4: Structural Failure
This is where the metal actually breaks. A snapped spring, a hinge that pulls out of the door panel, a cable that lets go. We get calls at this stage regularly, and they are always harder than the calls that came two stages earlier.
If you’re at stage 2 or 3, a scheduled visit makes sense. If you see a physical break, that’s a call-today issue. Our team at Sunridge Garage Door Repair can look at photos if you’re not sure which stage you’re at.
What Frayed Cables Are Telling You
A garage door cable is a bundle of thin steel strands wound together. All the lifting force on your door routes through these cables, and when a strand starts to break, it fails in a pattern. Reading that pattern is one of the more useful skills a homeowner can pick up, and it takes about thirty seconds per side.
How to Check
- Stand on the driveway with the door fully closed.
- Look at each cable drum at the top corner of the track.
- Follow the cable down. Look for thin whiskers of steel, called “meat hooks” in the trade, sticking out of the bundle.
- Look for the cable sitting off-center on its drum rather than neatly wound.
- Look for kinks, bends, or a slack section that shouldn’t be there.
One loose strand is a warning. Two or three strands broken is a sign the cable is a few cycles away from letting go. A cable that has already come off the drum entirely, or has wrapped itself around the axle, is a full stop: don’t operate the door.
Safety Caveat
A garage door cable is under high tension. We do not recommend homeowners try to remove, tighten, or re-seat one. When a cable under load slips or snaps unexpectedly, the result can be serious injury. This is a job for a technician who has the right tools and training.
If you see fraying at any level, note it and schedule a service call. Our garage door opener repair team also handles cable and balance issues, since those often show up as opener symptoms first.
Weatherstripping and Seal Degradation
The rubber seal along the bottom of your garage door is the least glamorous part of the system and the loudest early warning device you have. When it degrades, you learn useful things about what’s happening above it.
Signs the Seal Is Aging
- Cracks or splits along the bottom edge
- A section that has curled away from the floor
- Visible gaps under the door at one end or the other
- Water entering the garage floor at the base of the door during the rainy season
- Daylight visible under the door in a dark garage
A cracked seal that still sits flat is cosmetic. A curled or separated seal often means one of two things: the seal has simply aged out, or the door is no longer landing evenly, which itself points to a balance or alignment issue in the track or spring system. The second is the one that matters, because it means the door is starting to move in a way it didn’t before.
Weatherstripping at the Sides and Top
The side and top weatherstripping on a Ventura home gets overlooked because it’s less visible. When the top seal cracks and lifts, you’ll often see moisture collecting on the inside of the door panel. When the side seals shrink, the door starts rubbing slightly at the edges during travel. Both are cheap fixes done at the right time and expensive when ignored.
We do these as part of a broader tune-up. If your observations are pulling you toward “something’s off with the whole door”, the general Ventura service page is the right starting point.
When a Sound Is an Adjustment vs. a Failure
Not every noise deserves a service call. The useful question is: does this sound come from the hinge and roller path, or from a component carrying tension? Sounds from the moving path are usually adjustments. Sounds from tension-bearing components are usually failures-in-progress.
Adjustment Sounds
- Squeak at a hinge: dry hinge pin. Lube fixes it.
- Rattle as the door travels: loose bolts on hinges or brackets. Tighten them.
- Scrape along one side: roller pulling out of track slightly, or track out of alignment. Adjust.
- Rhythmic thumping: roller issue or a flat spot on a roller. Replace the roller.
Warning Sounds
- Sharp popping or snap: spring or cable. Stop operating the door.
- Continuous grinding under load: opener gear or chain issue.
- Door bangs on the floor: travel limit off, or the door bottom dragging (usually seal or balance).
- Metallic clang on descent: cable off drum or spring broken.
- Motor whine but no door movement: opener coupling, gear, or broken spring.
The rule of thumb: if it sounds like something is being stretched, strained, or has just given way, stop and call. If it sounds like something is loose or dry, that’s an adjustment and a scheduled visit.
Decoding Opener Behavior Changes
Modern openers are chatty machines. A LiftMaster, Chamberlain, Craftsman, or Raynor unit will change its behavior in small ways as the door and the mechanism age. Those changes are readable.
What Each Behavior Means
- Door reverses on descent: safety sensor obstruction, sensor misalignment, or the door binding at the bottom. Check the sensor eyes first. If they’re clear and the door still reverses, the door itself is binding.
- Hesitation before lifting: worn gear or coupling, sometimes a weakening spring. In a mild-humidity climate like Ventura this may start slowly, so the change is easy to miss.
- Inconsistent response to remote: battery, antenna position, or a logic board starting to fail. Swap the battery first. If a new battery doesn’t fix it and the wall button works, the remote or receiver is the culprit.
- Light flickers while door moves: power supply issue or logic board aging. Rarely dangerous; worth a service call.
- Door stops partway and stays: travel limits or safety reverse feature tripping. Do not force it.
- Motor runs but chain or belt doesn’t move: gear, sprocket, or coupling failure.
These symptoms are where brand knowledge matters. A Chamberlain that stutters on descent is diagnosed differently from a LiftMaster with the same complaint, because the safety reverse calibration and travel limit systems are different underneath. That’s a big part of why we work with all eight of the major brands rather than one.
Urgent vs. Can-Wait: Honest Triage
Not every warning sign is a call-today sign. Here’s the split we use, so you can use it too.
Call Today (Don’t Operate the Door)
- Broken spring (you see a gap in the coil or the spring is hanging loose)
- Cable off the drum, tangled, or clearly snapped
- Door hanging crooked, one side lower than the other
- Door won’t go up at all and the motor runs
- Hinge has pulled out of the door panel
- Any visible broken or bent track
Schedule This Week
- Frayed cable strands (visible meat hooks)
- Heavy rust pitting on a spring
- Door binding on one side as it travels
- Opener reversing for reasons other than sensors
- Bottom seal that has curled and is letting water in
Schedule at Your Convenience
- Surface rust at hinges
- Squeaky hinge
- Weatherstripping aging but not separated
- Flickering opener light
- Old remote that needs a new battery
If in doubt, get someone to look. A good technician will tell you which column a sign belongs in rather than pushing work you don’t need.
Brand-Specific Warning Signs
Some warning signs are brand-specific. Knowing this helps you describe what you’re seeing over the phone, and it helps the technician show up prepared.
LiftMaster
LiftMaster units commonly show a specific pattern of “wall button works, remote doesn’t” as the logic board or receiver ages. They also have a battery backup line where the battery itself ages out at a different rate than the rest of the unit, so a LiftMaster that suddenly refuses to work during a brief power outage is often a battery backup issue, not a motor issue.
Craftsman
Older Craftsman openers are known for the coupling between the motor and the drive shaft wearing down and eventually breaking. The symptom is a machine that runs but doesn’t move the door. It’s a specific, recognizable failure that’s worth knowing because “the motor runs but nothing happens” on an older Craftsman is often diagnosable over the phone.
Wayne Dalton
Wayne Dalton doors often use a specific torsion system that tensions differently than standard setups, and the visible warning signs (spring drum position and cable angle) look different from other brands. A technician without Wayne Dalton experience can misread those visual cues.
Raynor
Raynor openers are known for solid drive systems but have their own safety reverse calibration. When they start reversing unexpectedly, the first two things to check aren’t the same as on a Chamberlain.
We work with all eight of the major door and opener brands – LiftMaster, Chamberlain, Genie, Clopay, Amarr, Wayne Dalton, Craftsman, and Raynor – so a brand mismatch doesn’t cost you a second visit.
Common Mistakes to Avoid
- Waiting for a sound. By the time a door makes the failure sound, the visual signs have usually been there for months. Do the visual walkaround first.
- Assuming rust means replace. Stage 1 and stage 2 corrosion is an oil-and-monitor situation. Don’t let a garage door sales pitch turn surface haze into a full replacement.
- Using WD-40 on springs and cables. It’s a light solvent, not a proper lubricant, and it attracts dust. Use a garage door rated lubricant on moving parts.
- Forcing a door that has stopped. If the door won’t lift with normal force, the spring or cable is the issue, not the motor. Forcing it can break other components and put you in harm’s way.
- Replacing the opener when the door is the problem. A common Ventura call is “the opener died” when the real failure is a broken spring. The motor runs but nothing moves because the door has nothing lifting it.
- Ignoring one-sided wear. If one hinge rusts faster than the others, or one cable frays while the other is clean, that’s not luck. It means the door is binding on that side and need to look at the track.
- Trusting a general handyman on a spring job. A torsion spring is a specific hazard. This is garage door work, not a multi-trade job, and treating it as one is where injuries happen.
See the difference
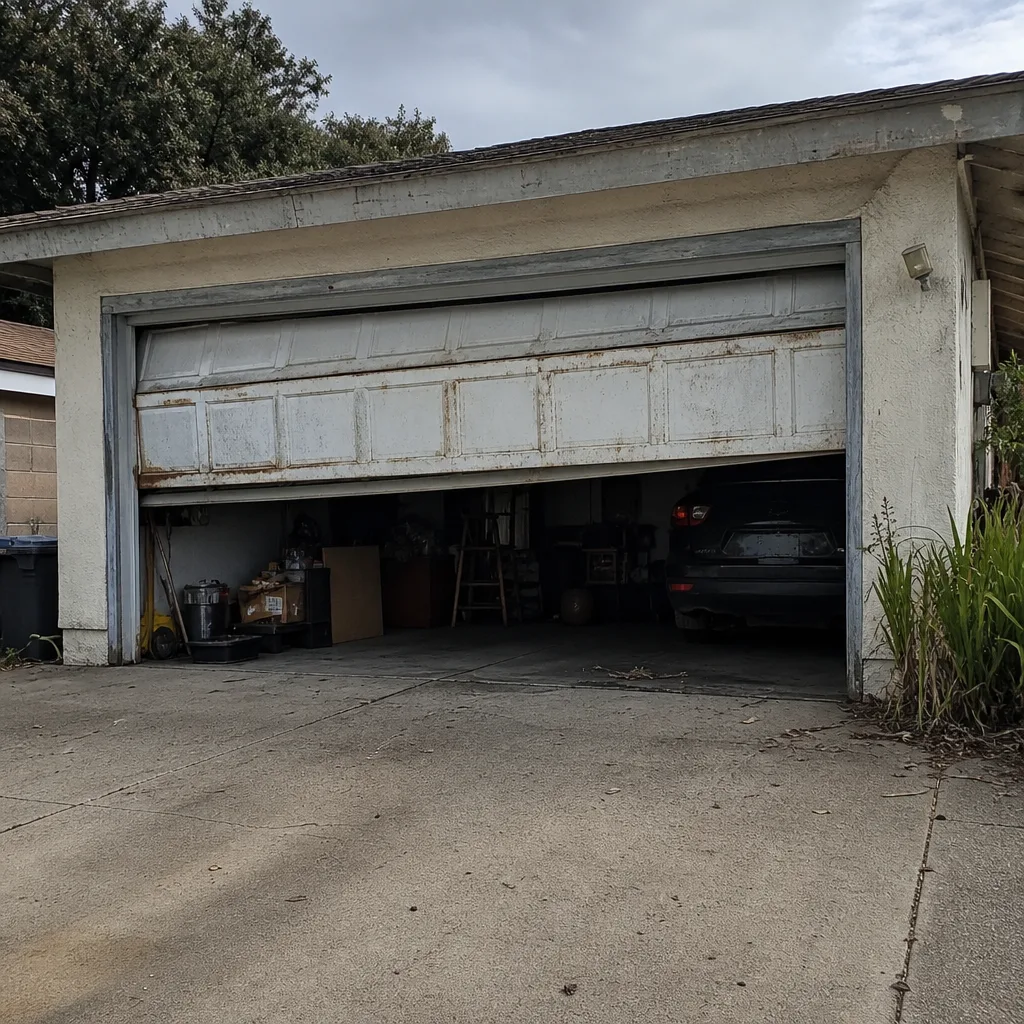 Before
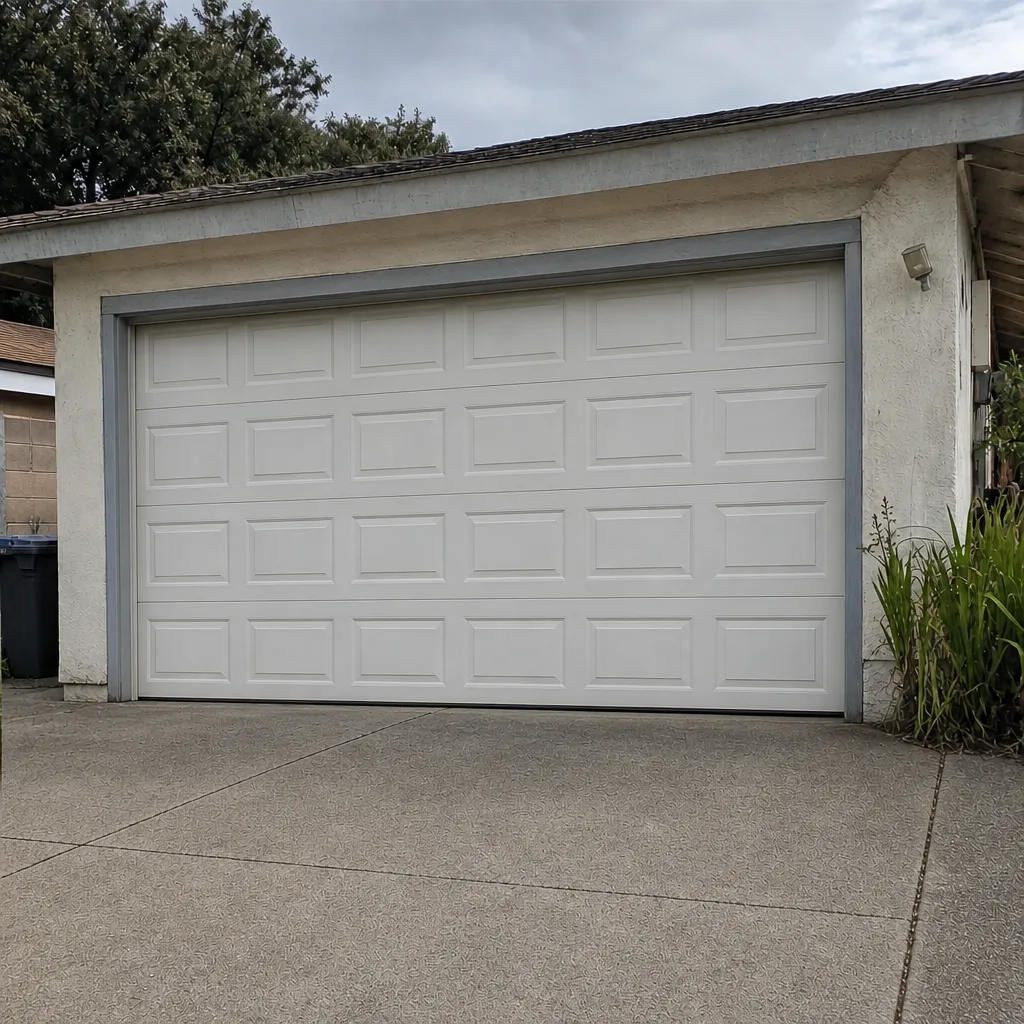 After
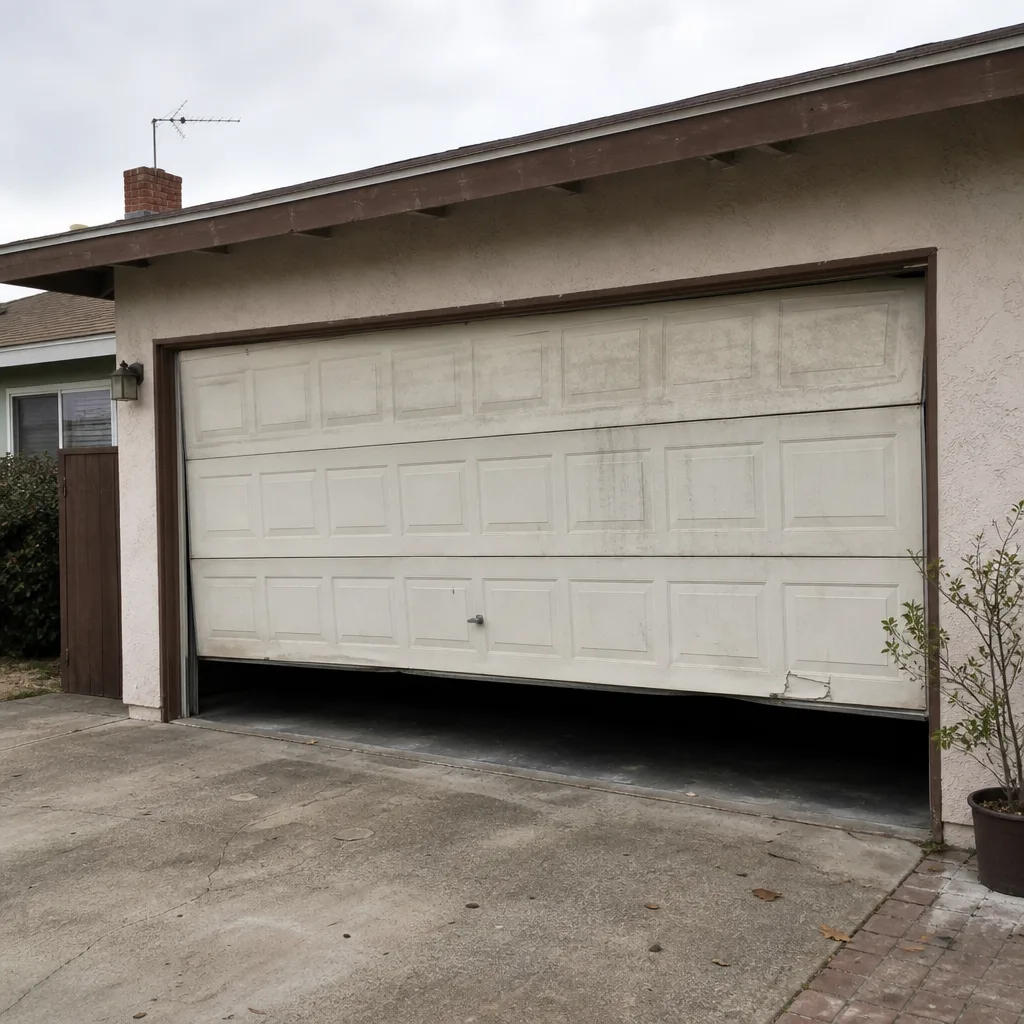 Before
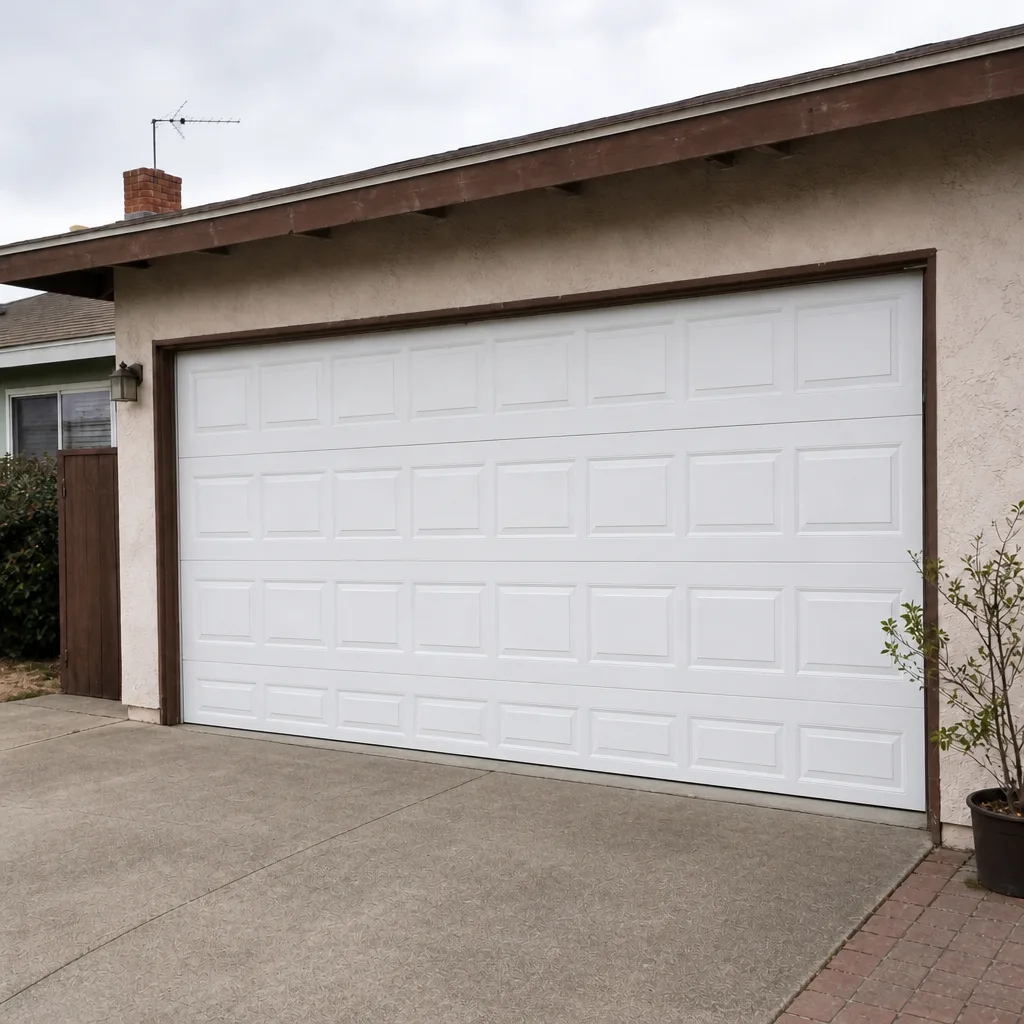 After
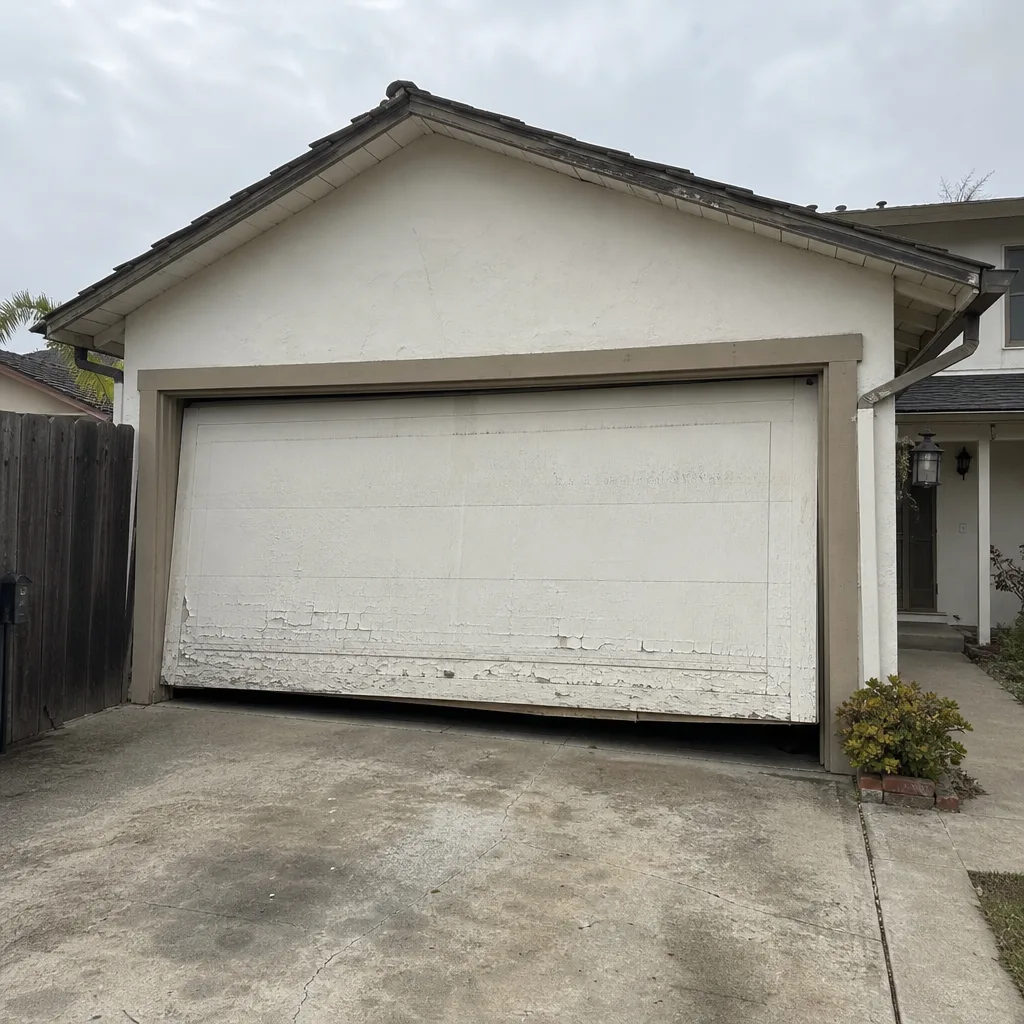 Before
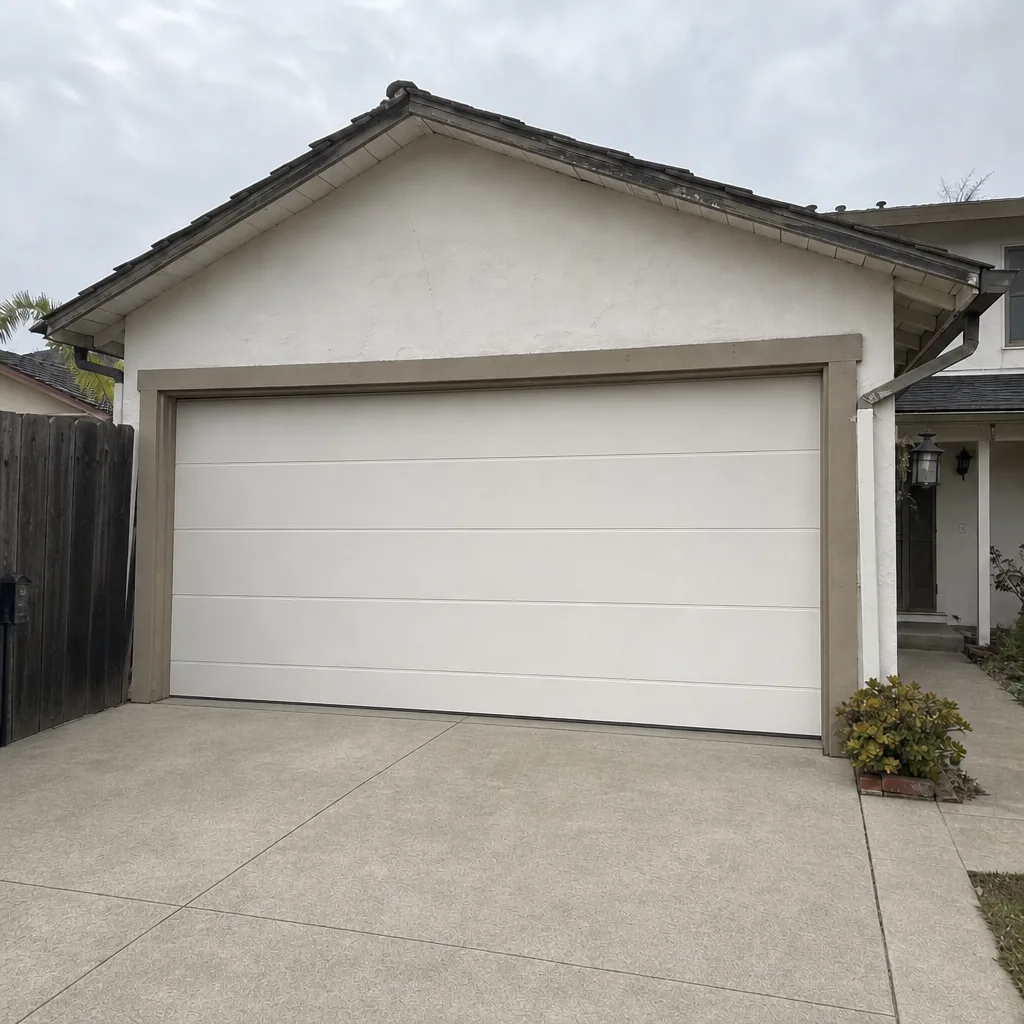 After
When to Call a Professional
Call a professional if the door won’t lift, hangs crooked, has a visible break in a spring or cable, or if the opener runs but the door doesn’t move. Call if you see frayed strands on a cable or rust flaking on a tension spring. Call if the door reverses on descent and the sensors are clear. Call if a hinge has pulled out of a panel, if the track is bent, or if you’re just not sure what you’re looking at and want someone to lay eyes on it. For the smallest issues (a squeak, a loose bolt, surface rust) you can wait for a scheduled visit. Sunridge Garage Door Repair offers free estimates in Ventura – call (844) 685-4199. We answer 24/7. Fast dispatch from 7am to 7pm, Sunday through Friday.
Frequently Asked Questions
Fraying on a cable or rust pitting on a spring. Both are visible before they fail, and both are what we look for first on a Ventura door. If either is present, schedule a service visit before the door fails and traps a car.
No. A squealing hinge or rattling bolt is an adjustment, not a failure, and usually a small fix. A popping, snapping, or metallic clang is a failure signal. Call (844) 685-4199 for an exact look – estimates are free.
No. A torsion spring is under high tension and can cause serious injury if it releases unexpectedly. This is a job for a trained technician. Please don’t try to remove, tighten, or replace one yourself.
You often don’t from the outside, and that’s fine. What matters is that the technician recognizes the specific system when they get there. We work on all eight major brands, so we diagnose the actual system rather than guessing. Call (844) 685-4199.
Do the visual walkaround every few months, and ideally after any noticeable weather shift. Ventura’s humidity cycles work on metal slowly and consistently, so a short regular check catches problems long before they become failures.
If the door is quiet, level, and the seals look intact, you don’t need a service call. Keep it lubricated at the hinges and rollers, do the walkaround, and call when something changes. Estimates are free when something doesn’t look right.
The Bottom Line
Warning signs on a Ventura garage door are more readable than most homeowners realize. The key is knowing to look, and knowing what to look for. Rust staging tells you how much time you have. Cable fraying tells you what’s next. Weatherstripping tells you what’s happening above. Sounds and opener behavior tell you which specific component is involved. Brand matters because the diagnosis on a LiftMaster, Chamberlain, or Wayne Dalton unit isn’t the same as on a generic system. The most useful thing you can do this week is spend five minutes in your driveway looking at the door in daylight. If something catches your eye, call (844) 685-4199 for a free estimate.
Written by the team at Sunridge Garage Door Repair.