
Last updated November 15, 2026
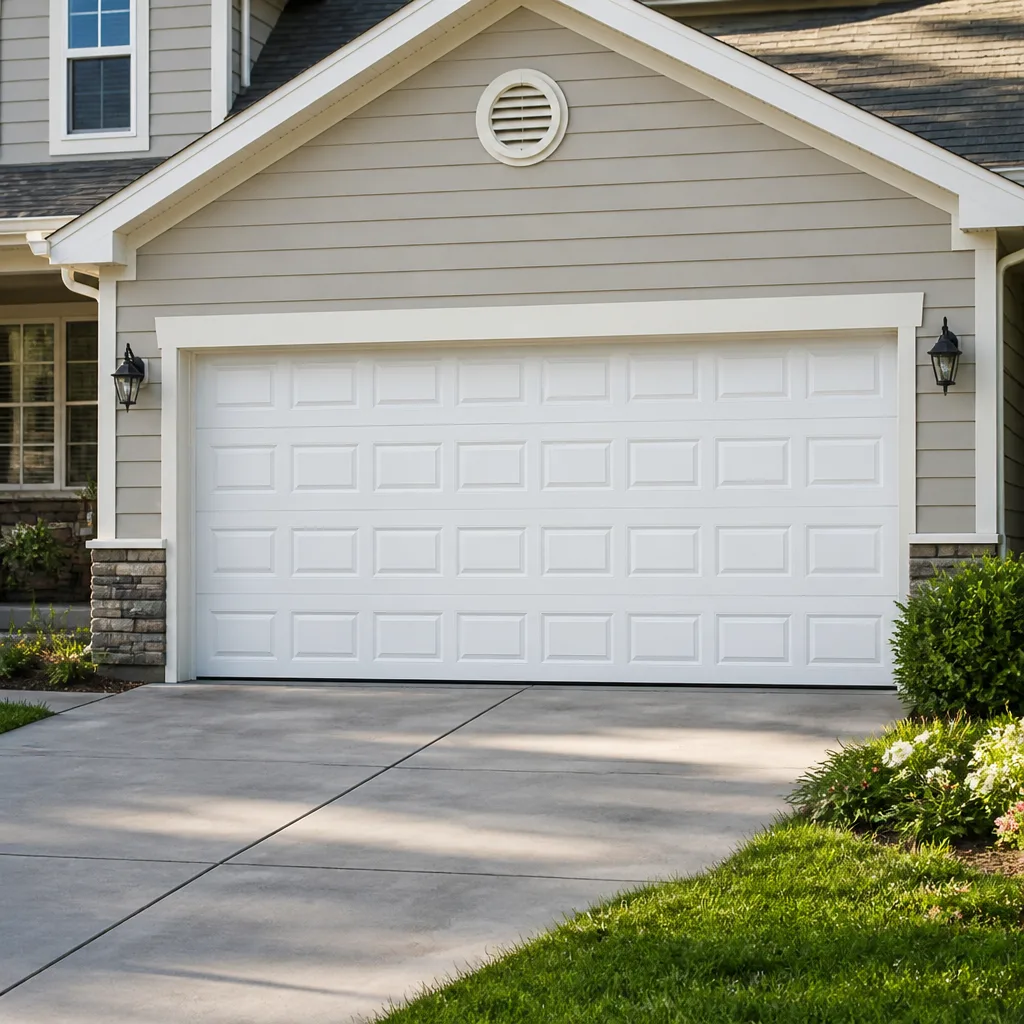 Raised-panel steel
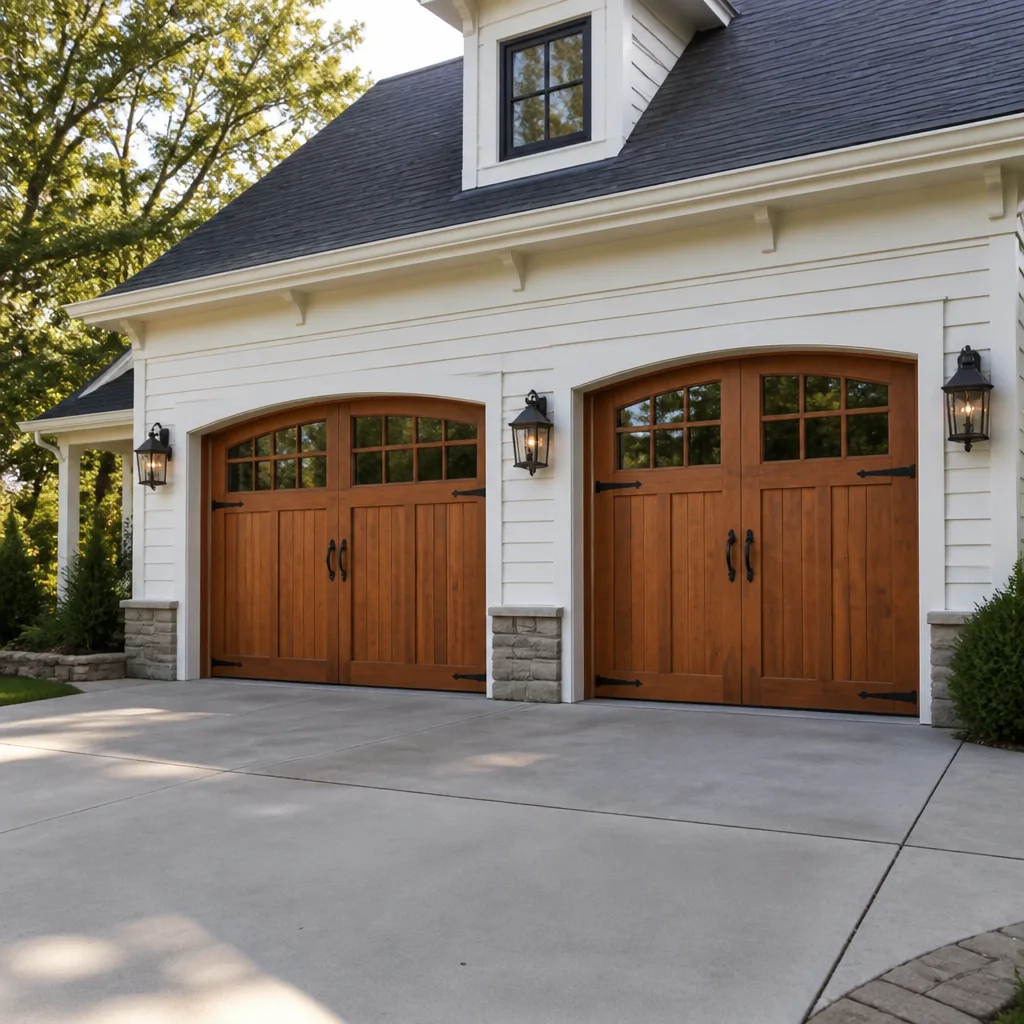 Carriage house
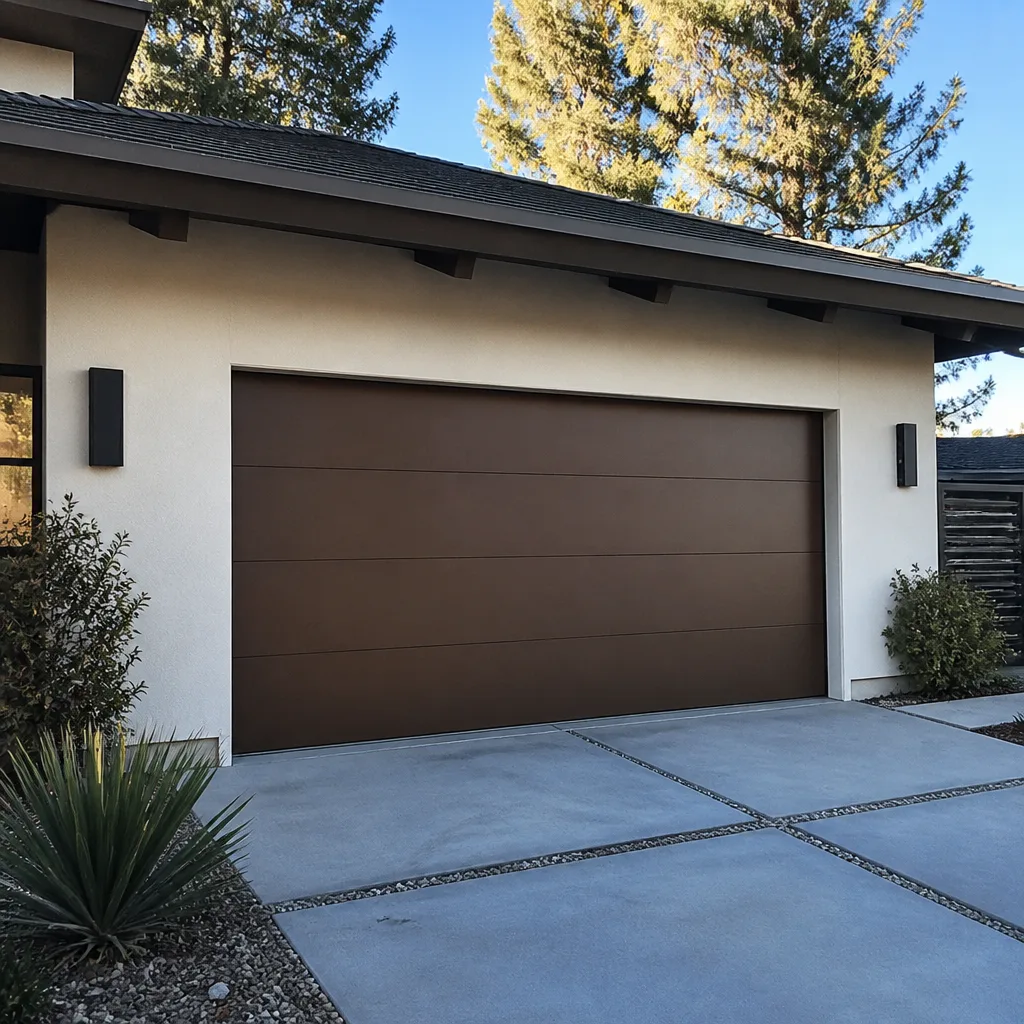 Modern flush
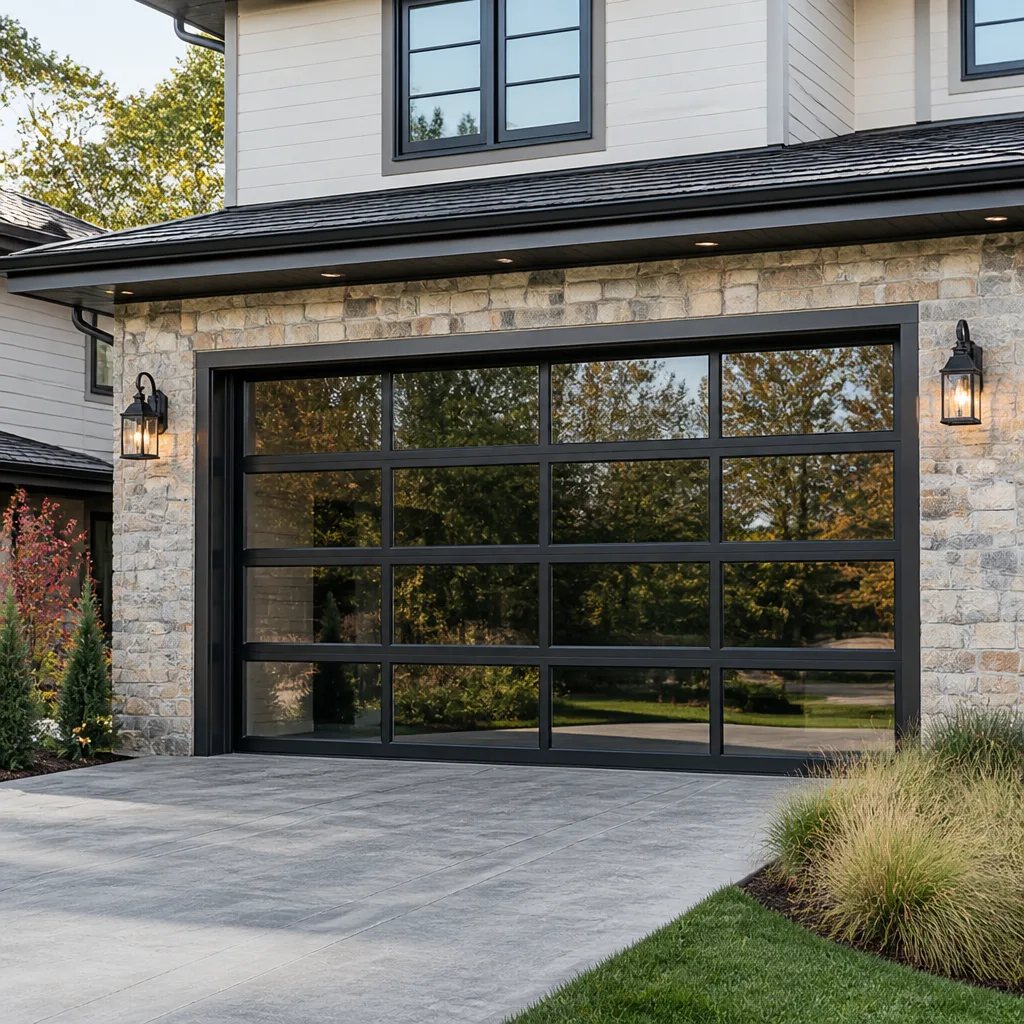 Full-view glass
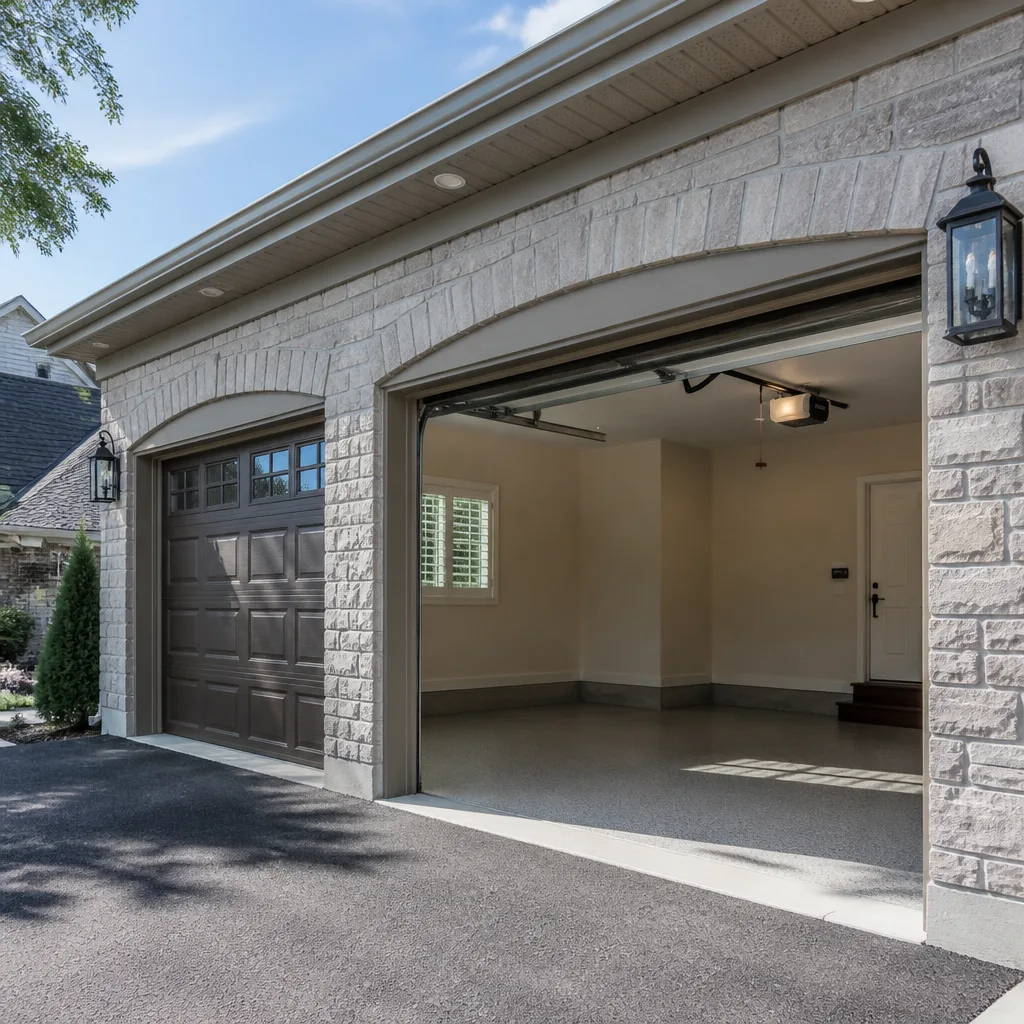 LiftMaster openers
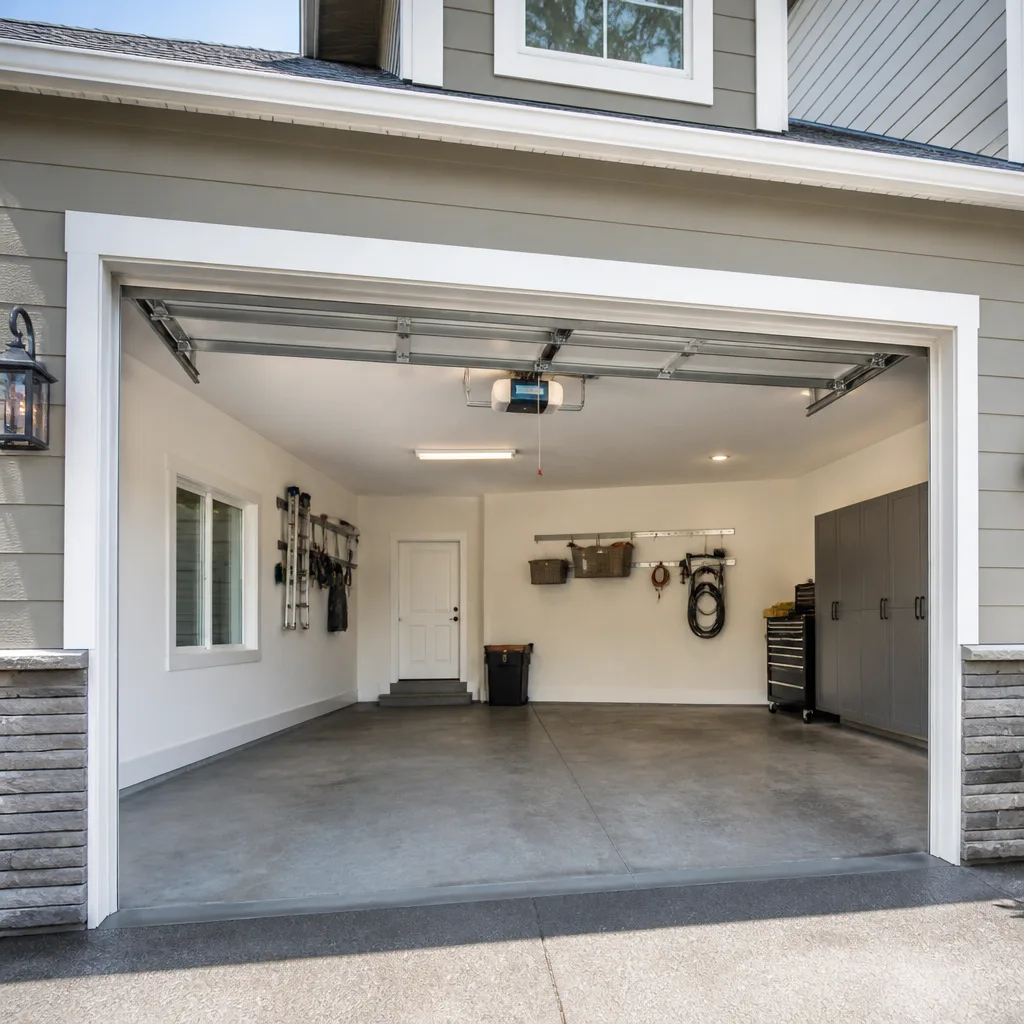 Chamberlain openers
Full 25-point door and opener safety check with every visit - springs, cables, rollers, tracks, and your LiftMaster or Chamberlain opener included
You get a price before we start. It does not change when the pro arrives.
Get your free estimateDIY vs Professional Garage Door: The Ventura Homeowner’s Decision Guide
Most advice about garage doors starts with money. We think that’s the wrong starting point. The honest frame is risk calibration. Torsion springs store enough mechanical energy to cause serious injury in a fraction of a second, and that’s not a liability disclaimer, it’s physics. Knowing which tasks involve torsion springs and which don’t is the entire basis of this decision. Some garage door work is genuinely safe for a careful homeowner with a Saturday and a socket set. Other work sends experienced tradespeople to emergency rooms. This guide draws that line task by task, explains the tools and brand quirks involved, and shows where a Ventura home’s climate changes the math.
Quick Answer
Roughly 70 percent of garage door jobs are safe for a careful homeowner: lubrication, balance checks, weather seal replacement, remote pairing, and visual inspections. The other 30 percent, including anything involving torsion springs, cables, bottom brackets, or track realignment under load, should go to a trained technician because the stored energy involved can injure you regardless of skill. If your door is off-track, making a loud bang, or won’t lift at all, call a professional.
Styles & brands we work with
- Raised-panel steel
- Carriage house
- Modern flush
- Full-view glass
- LiftMaster openers
- Chamberlain openers
Table of Contents
- Which Garage Door Tasks Are Safe for a Homeowner?
- The Gray Zone: Tools, Costs, and Honest Tradeoffs
- How Brand-Specific Systems Change the DIY Calculus
- Why Ventura’s Climate Makes DIY Maintenance Trickier
- What a Technician Sees That You Won’t
- DIY vs Professional: A Cost and Risk Comparison
- Common Mistakes to Avoid
- When to Call a Professional
Which Garage Door Tasks Are Safe for a Homeowner?
Safe DIY tasks all share one feature: they don’t touch stored mechanical energy or a door under tension. If you can complete the work with the door closed (or fully open and locked in place with no spring tension involved), you’re in safe territory. Here’s the practical breakdown.
Safe for a competent homeowner:
- Lubricating hinges, rollers, tracks, and the spring coil (with the door closed)
- Testing the balance of the door by hand (lift halfway, release gently, see if it holds)
- Testing the safety reverse feature with a 2×4 laid flat under the door
- Replacing rubber weather seals along the bottom of the door and the sides of the frame
- Pairing or reprogramming remotes and wireless keypads
- Tightening loose hinge and bracket bolts that are not under load
- Visual inspection of cables, springs, and rollers for visible wear or rust
- Cleaning photo-eye lenses and confirming the LED indicators are solid
- Replacing opener light bulbs and backup batteries
- Wiping down and repainting steel panels (with the door closed)
Not safe for a homeowner (call a professional):
- Replacing torsion or extension springs
- Replacing or reattaching lift cables
- Adjusting the bottom brackets where cables attach
- Realigning bent or separated track sections under load
- Replacing rollers on a door that is currently stuck or hanging
- Adjusting opener force limits on a door that is out of balance
- Removing a door panel from a door that won’t raise fully
In our experience, the confusion happens at the boundary. A homeowner reads that “garage door repair is easy” and assumes a spring swap belongs on the list. It doesn’t. Anything that requires releasing tension from the system, or working under a door that could drop, sits past the line. For anything in the second list, call garage door repair and let a trained technician handle it. The time you save trying it yourself isn’t worth a hospital visit.
The Gray Zone: Tools, Costs, and Honest Tradeoffs
Between the safe list and the never-touch list sits a band of tasks that a determined homeowner can pull off, but only with the right tools. The question isn’t “could I?” It’s “does buying the tools make sense for a one-time fix?” Here’s the honest answer for each.
Roller replacement. Straightforward in principle, but you’ll want a set of nylon rollers (not plastic), a 3/8-inch socket, and a locking pliers to hold the door when it’s raised. Cost of tools: negligible if you already own a socket set. The catch: one roller replacement usually signals that the others are on the same wear schedule. If you’re replacing all of them, a technician does it in less time than it takes to buy the parts.
Track adjustment. A slight bend can sometimes be persuaded back with a rubber mallet and a level. But most track issues start with a bent or worn roller, and pushing a track back into position while the door is under tension can send it out of alignment in a different direction. The tools (level, mallet, sockets) are common, but the diagnosis isn’t.
Cable replacement. This is where we stop recommending DIY. Cables sit under hundreds of pounds of tension. If you’re not sure how to safely release that tension, don’t start. Cable replacement requires a winding bar set, spring release clamps, and a working knowledge of your specific spring system. Buying the tools costs more than hiring the job, and the injury risk is real.
Opener replacement. Physically a homeowner can swap a LiftMaster or Chamberlain unit in a day. The gray-zone piece is the door-to-opener interface: travel limits, force settings, and safety reverse. A mis-programmed opener on a well-balanced door is still a hazard. If you install the unit, budget a technician visit to calibrate it.
The honest rule for the gray zone: if the job requires a tool you’ll only use once, buy the service instead. Sockets and screwdrivers you’ll use again. Spring winding bars and cable clamps, you won’t.
How Brand-Specific Systems Change the DIY Calculus
Older garage doors were mechanical. Newer ones are electronic. That shift has quietly raised the DIY bar for anything that touches an opener. A Craftsman belt-drive opener from fifteen years ago is far more forgiveable of a homeowner poking at it than a modern smart opener with an app, battery backup, and encrypted remote communication.
Here’s what changes with modern brand systems:
- Programming interfaces. LiftMaster’s newer wall consoles and Chamberlain’s MyQ ecosystem frequently require manufacturer-specific button sequences for travel limit and force adjustment. A generic YouTube tutorial for a different brand will put your opener in a worse state than when you started.
- Sensor calibration. The safety reverse system on modern openers can be adjusted in ways that look “working” but fail a real-world test. We’ve seen doors that pass a hand-wave test but won’t reverse on an actual obstruction.
- Battery backup and side-mount units. Raynor and LiftMaster side-mount openers mount on the wall next to the torsion bar rather than the ceiling, which means installation work happens directly alongside the spring system. That’s a professional-only zone.
- Photo-eye alignment. Simple to check, deceptively easy to misalign. A stray bump against a Raynor or Chamberlain bracket can leave the eyes pointing just enough off center to cause intermittent failures that look like a bad opener.
- Firmware and pairing. Smart openers push updates through their apps. If your unit stops responding after a firmware update, the fix is usually a re-pairing sequence that differs by model, not a hardware repair.
The upshot: on older mechanical systems, cautious DIY is often reasonable. On a modern smart opener from any of the eight major brands (LiftMaster, Chamberlain, Genie, Clopay, Amarr, Wayne Dalton, Craftsman, Raynor), brand-specific programming knowledge matters more than mechanical confidence. Our team works across all eight, which matters for garage door opener repair where a guess costs more than a call.
For installation work, brand fluency matters most of all. A door and opener combination purchased together from one brand and installed by a technician who knows that brand’s specifics rarely has the “why doesn’t this fit” problems that show up when a homeowner mixes systems. If you’re pricing out new hardware, a free estimate from us is a good backstop before you commit.
Why Ventura’s Climate Makes DIY Maintenance Trickier
Garage door maintenance advice written for dry inland climates doesn’t fully translate to Ventura. The mild winters here are kind to weather seals and paint, but the year-round humidity and proximity to the ocean shift what “regular maintenance” actually catches. That has a direct effect on the DIY-versus-professional question.
Two things happen to garage doors in Ventura:
- Corrosion runs on a different schedule. Salt air accelerates oxidation on hinges, rollers, and the spring coil in ways that inland homeowners don’t see. A hinge that would take a decade to fail in the Central Valley can start seizing here in a fraction of that. Lubrication isn’t just about smooth operation, it’s the primary defense against this.
- Early failure signs hide in the noise. When a homeowner lubricates a door themselves, they typically focus on the rollers and hinges. What they often miss is early cable fraying at the drum, subtle torsion spring wear on the coil, or a bottom bracket that’s beginning to show rust pitting. These are the indicators that trigger a scheduled repair rather than an emergency one.
The counterintuitive point: DIY lubrication in Ventura can mask the signs a technician would catch, because the door runs quieter and smoother after lubrication without the underlying wear actually being addressed. A professional service call isn’t just lubrication, it’s a diagnostic pass. If you’re in the hills or in a neighborhood like Pierpont or the Ventura Keys, you’re on the higher-humidity end of the local spectrum and the diagnostic piece matters more, not less. Serving Ventura means we see these patterns play out in a way that a generic “lube your springs twice a year” instruction misses. And if you’ve tried it yourself and something still feels off, that’s the moment to call we’ve seen go wrong often enough to say so plainly.
If you’d like a scheduled maintenance visit or a diagnostic check on an aging system, call (844) 685-4199. We answer 24/7, and fast dispatch runs 7am to 7pm, Sunday through Friday.
What a Technician Sees That You Won’t
The strongest argument for professional service isn’t the labor savings, it’s the diagnostic pass. A trained technician doesn’t just fix what’s broken. On every visit, they run through a checklist that reveals problems a homeowner reasonably wouldn’t think to look for.
Here’s what a typical service visit covers beyond the repair itself:
- Balance test with a load measurement. A technician lifts the door halfway, notes whether it holds, and then measures the force required. A door that seems balanced by hand can still be significantly off in either direction, which wears the opener motor over time.
- Spring coil inspection at multiple points. Torsion springs rarely fail all at once. They fail from a micro-crack that propagates. A trained eye catches early signs that tell you a spring is in its final stretch, which is the difference between a scheduled replacement and a car trapped in the garage on a Sunday morning.
- Cable inspection at the drum. Cable failure is the number one cause of door drops. Fraying at the drum end is visible but most homeowners don’t know where to look. A technician knows exactly what to check.
- Opener force and travel limit verification. Beyond the standard 2×4 test, a technician verifies the force profile and travel limits against the door’s actual weight. An opener fighting an off-balance door burns through gears and eventually the motor itself.
- Roller and hinge wear matrix. Not all rollers wear at the same rate. The technician notes which are replaced and which are fine, so you’re not paying for a full set when only three have failed.
- Weather seal and threshold check. Seals fail silently. A bad bottom seal lets in water, insects, and in Ventura’s case, the humidity that accelerates corrosion on everything else.
- Safety reverse verification with a test load. Technicians verify the reverse function against a real obstruction, not a hand wave. Photo-eye alignment gets checked at both the eye and the opener’s internal logic.
Every item on that list requires knowledge of the specific system installed. A Craftsman opener from 2005 has different diagnostics than a current LiftMaster. A Raynor side-mount has almost nothing in common with a ceiling-mount Chamberlain. Repair-first work is only accurate when the technician recognizes the equipment in front of them rather than treating it as generic hardware.
DIY vs Professional: A Cost and Risk Comparison
Money is a fair consideration. Here’s the honest side-by-side for the tasks homeowners most often attempt themselves.
- Lubrication: DIY cost is one can of garage door lubricant. Professional service visit includes diagnostics, which costs more but catches problems early. Worth doing professionally at least once a year, or any time the door is acting differently than it used to.
- Weather seal replacement: DIY parts cost is modest and the work is safe. Reasonable DIY.
- Remote and keypad programming: DIY cost is zero if you have the manual. Reasonable DIY for older, simpler remotes. For modern smart openers, pairing issues tend to require brand-specific knowledge.
- Roller replacement (all rollers): DIY parts and a socket set are inexpensive. But it’s an hour of up-and-down on a ladder, and new rollers on worn hinges don’t solve the underlying wear. Marginal DIY.
- Track realignment: DIY requires diagnosis first, and a wrong diagnosis can turn a 30-minute fix into a door that’s out of alignment across multiple sections. Better left to a technician.
- Cable replacement: DIY tool cost alone (winding bars, clamps) approaches or exceeds the cost of a professional repair. Real injury risk on top. Not a reasonable DIY.
- Torsion spring replacement: Same story as cables, with more stored energy. Not a DIY under any circumstances.
- Opener replacement: DIY hardware is the same price whether you install it or a technician does. Programming and calibration on modern units is the piece most homeowners underestimate. If you install, budget a technician calibration visit.
- New door installation: Not a homeowner project. Panels, track, springs, and the opener all have to be ordered to the opening size, and a mis-sized door is a return, not a trim-to-fit.
The pattern: the tasks with the lowest DIY tool cost are also the lowest risk. As risk rises, the tool cost and knowledge requirement rise with it. On every job, the price is quoted and agreed before any work starts, so you know before anyone touches the door what the final invoice will be. If you want a free estimate on any item above, call (844) 685-4199.
Common Mistakes to Avoid
These are the patterns we see most often in Ventura homes, whether the homeowner has attempted the work themselves or simply waited too long.
- Lubricating the tracks. Tracks should stay clean and dry. Lubricant on the tracks collects dust and makes rollers slide instead of roll, which is exactly the wrong motion. Lubricate the rollers, hinges, and spring coil, not the track surfaces. Ventura’s airborne grit makes this mistake worse than in drier climates.
- Trying to fix a door that’s off its track. An off-track door may look like it just needs a push back into place. Underneath, a cable or roller has likely failed. Forcing it back can drop the door. Call a technician instead.
- Replacing only one torsion spring. A matched pair of springs is designed to share the load and to fail on a similar schedule. Replacing one leaves the door unbalanced, which shortens the life of the new spring and stresses the opener. If one spring has snapped, both should be replaced together, and the price reflects that (the per-spring estimate roughly doubles).
- Bumping a photo-eye and not noticing. Photo-eyes get knocked out of alignment easily, especially in a busy garage. If your door reverses without an obstruction, check the LED indicator on each eye. If it’s not solid, realign the eyes first before assuming the opener is failing.
- Adjusting opener force to compensate for a sticking door. A door that sticks needs the door fixed, not a stronger opener. Raising the force limit to push through the sticking point wears the opener’s gears and turns a mechanical fix into a motor replacement.
- Skipping the balance test after any repair. Any time you touch the springs, cables, or rollers, run the balance test. A door that was balanced before the work and isn’t after is a signal that something isn’t right.
- Ignoring a new sound. A garage door that starts making a new noise (popping, grinding, squealing) is telling you something. Waiting until it fails, especially during the wet months when the opener is used more, turns a small repair into a bigger one. Call when you first hear it.
When to Call a Professional
Call a professional if any of the following describe your situation: your door won’t raise at all; it makes a loud bang and stops moving; it’s visibly off its track; a torsion spring is snapped or visibly separated; the cable is frayed or hanging loose at the drum; the opener runs but the door doesn’t move; the safety reverse isn’t functioning; or the door has never been serviced and you don’t know the maintenance history. If any work on the door involves a torsion spring or a cable under tension, that’s professional territory by definition, no matter how handy you are. If you’re pricing a repair and want a straight answer on repair vs replacement, or a free estimate on a new installation, Sunridge Garage Door Repair offers free estimates in Ventura. Call (844) 685-4199. We answer 24/7, and fast dispatch runs 7am to 7pm, Sunday through Friday.
See the difference
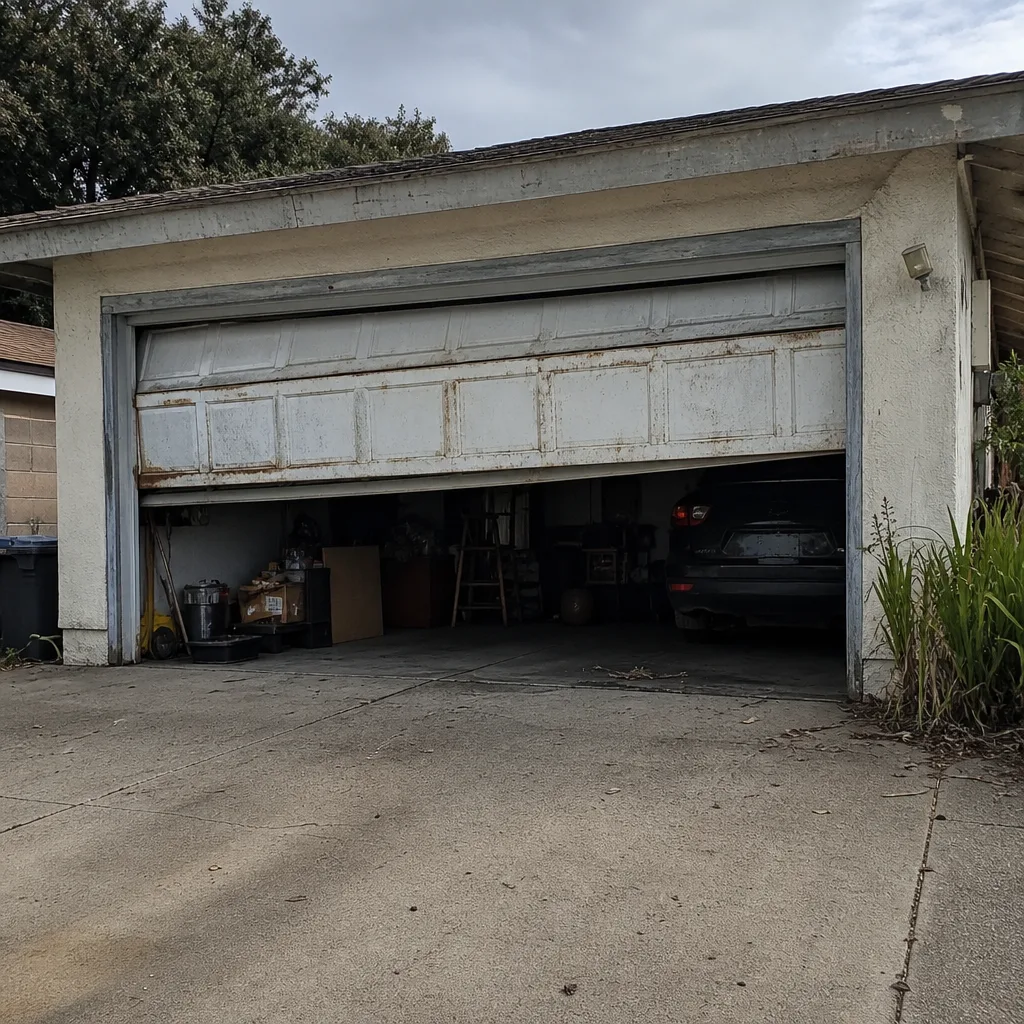 Before
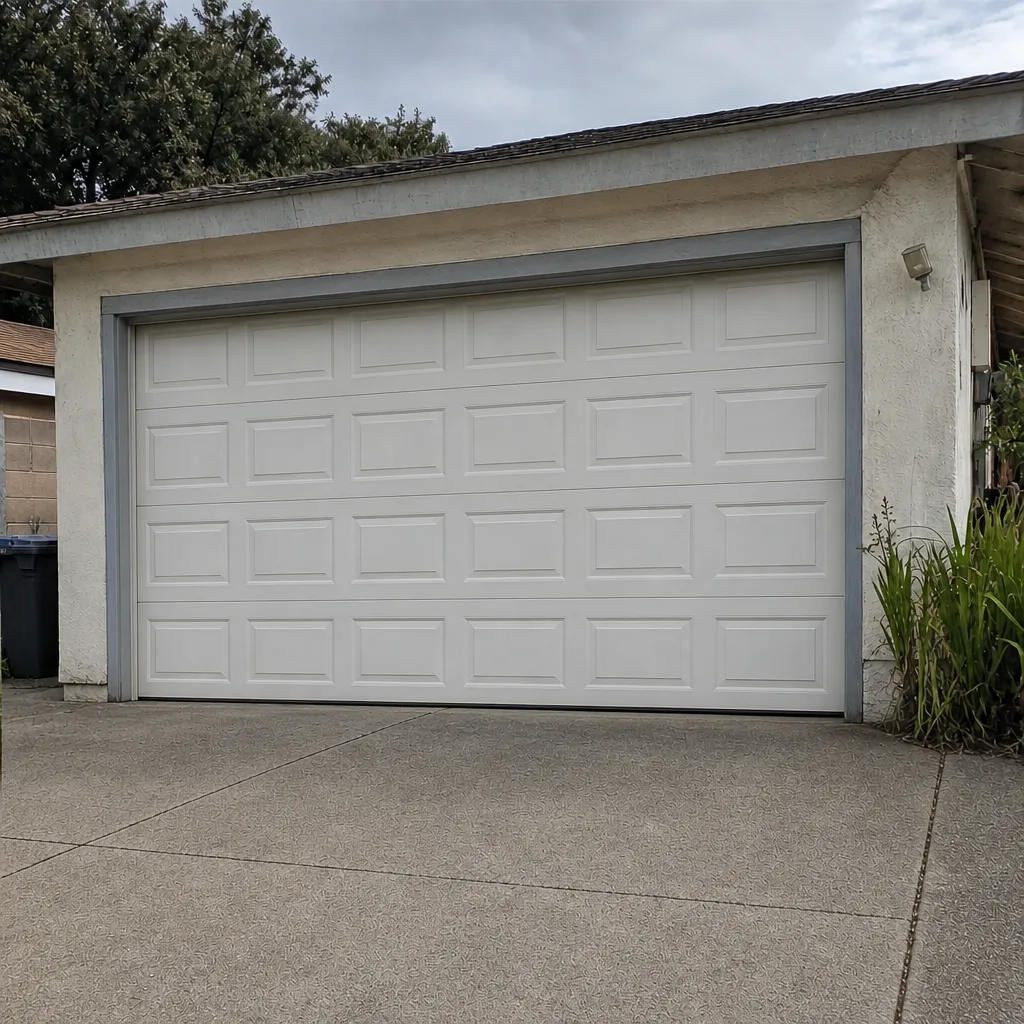 After
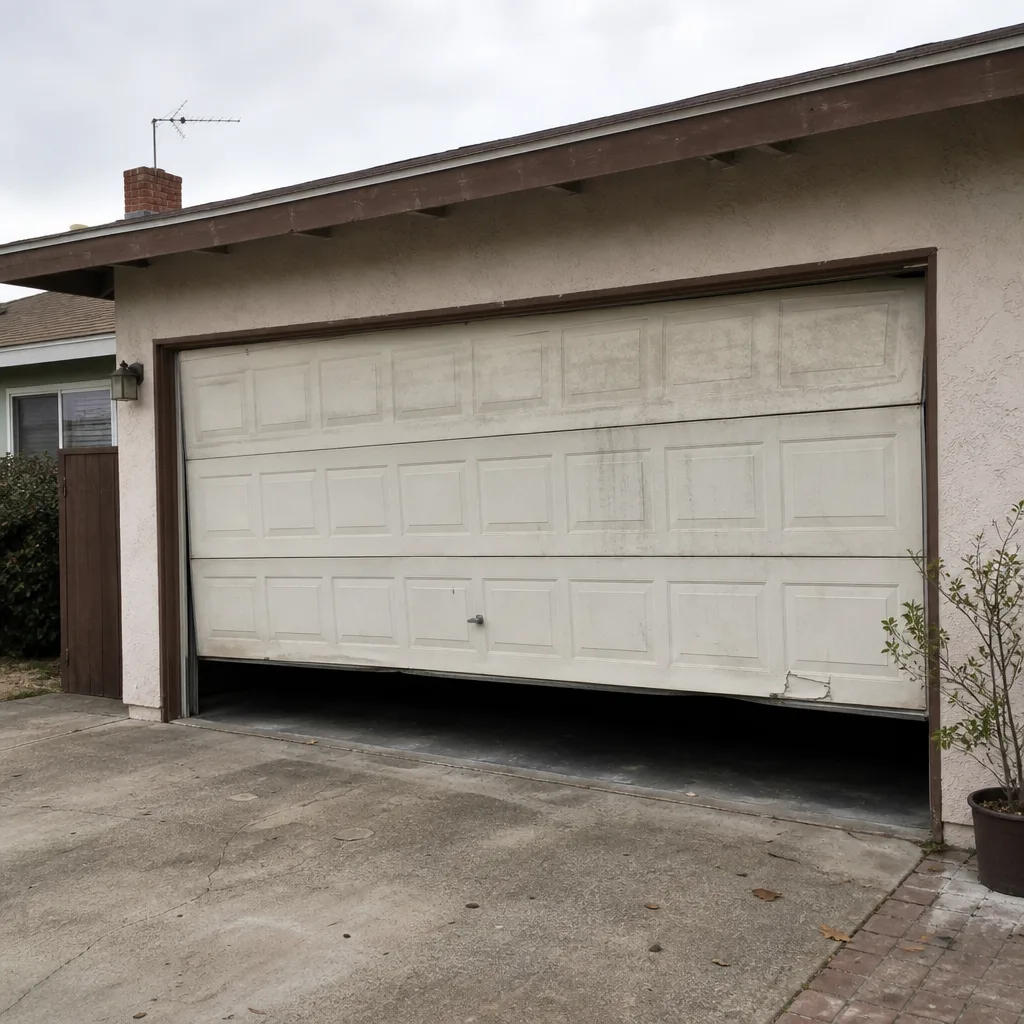 Before
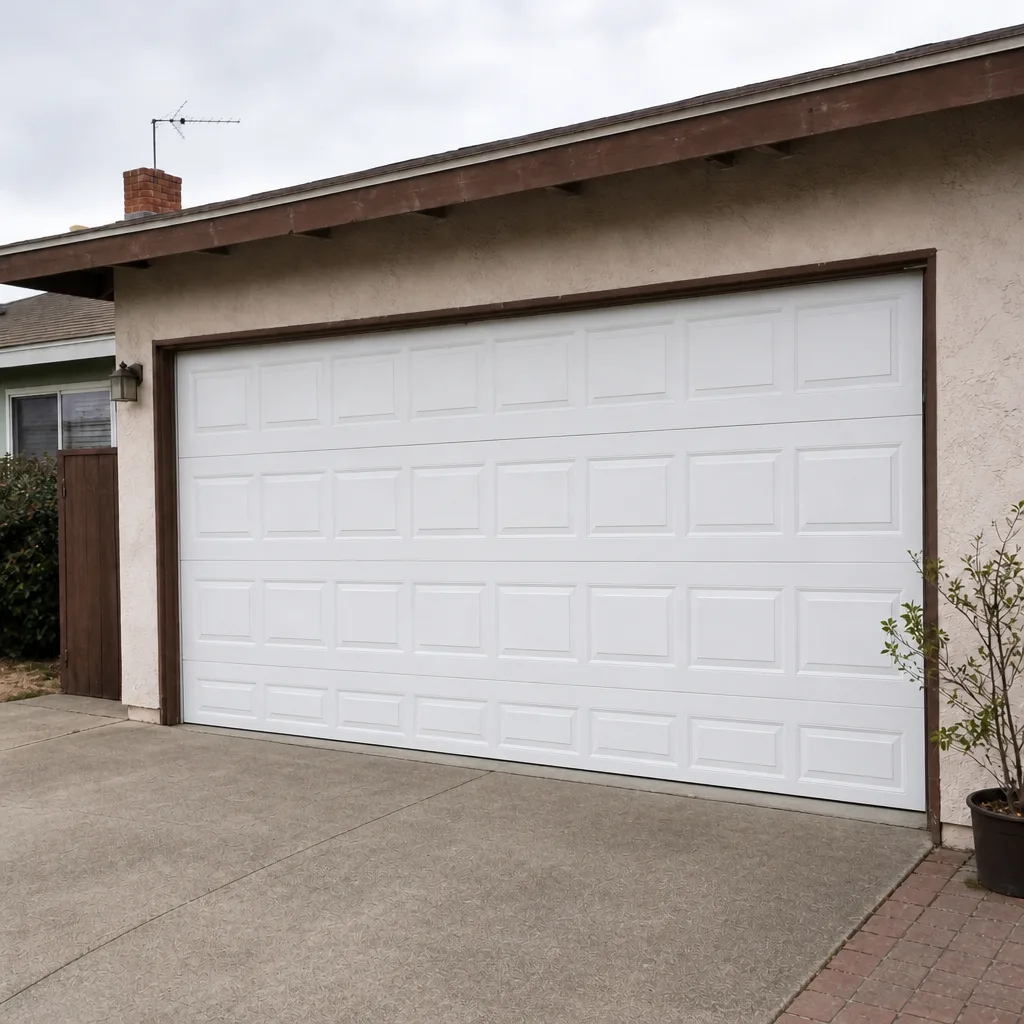 After
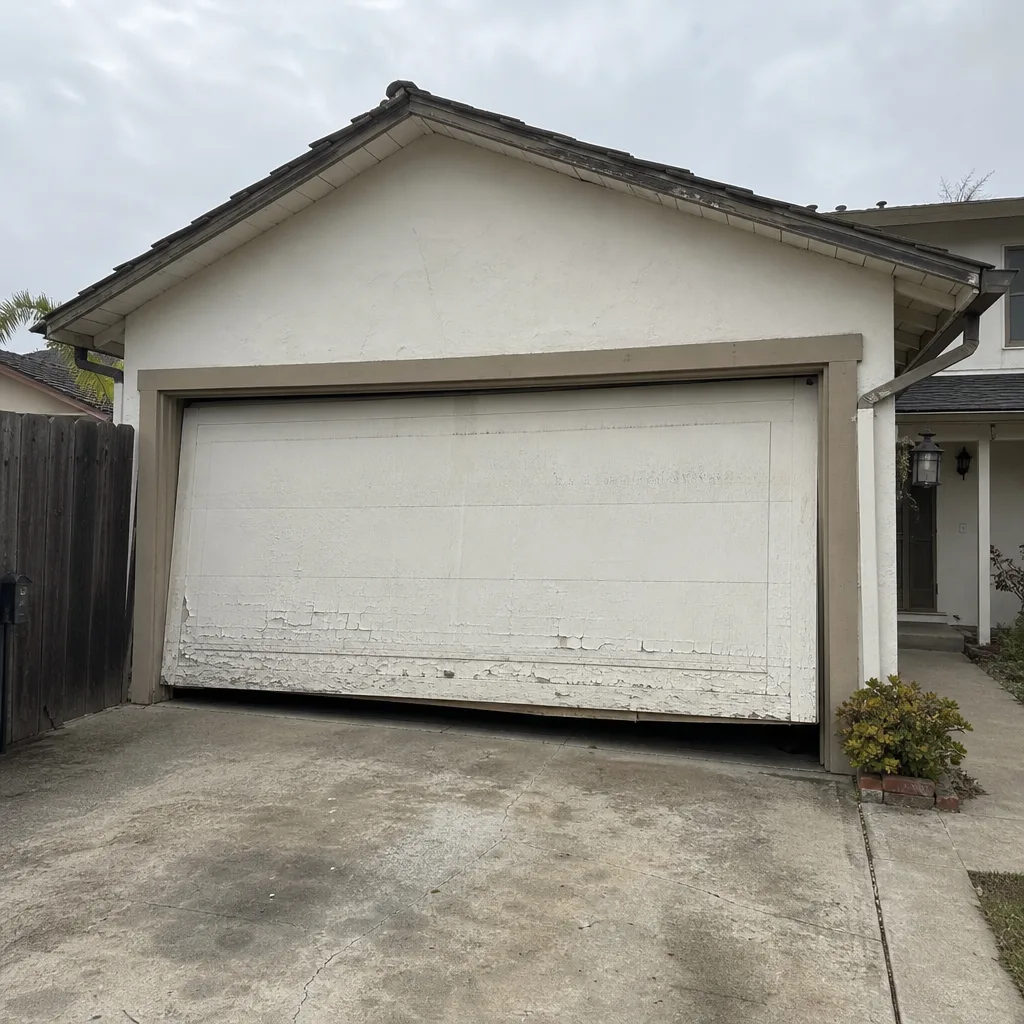 Before
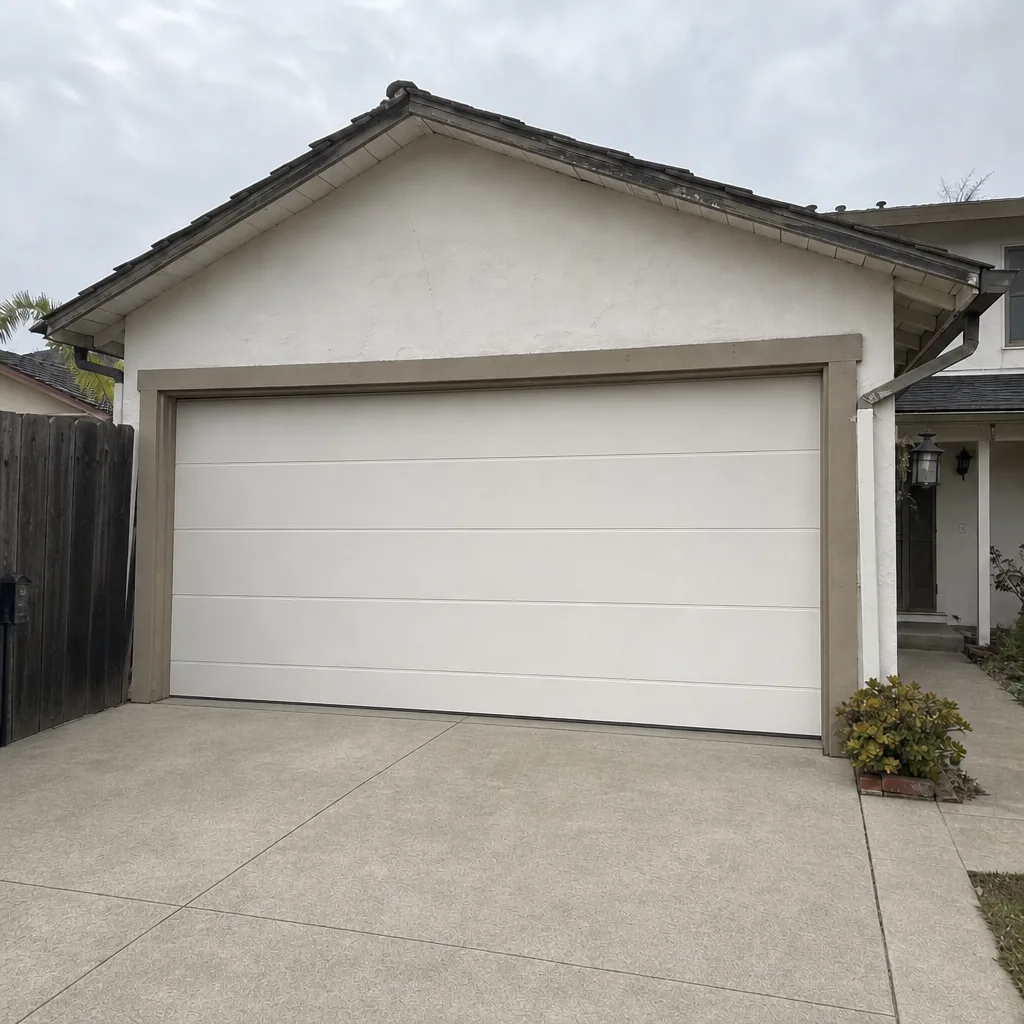 After
Frequently Asked Questions
No. Torsion and extension springs store enough mechanical energy to cause serious injury in a fraction of a second. Even with the correct winding bars and clamps, the release of tension has to be controlled precisely, and a slip under load can be catastrophic. This is the single task in garage door work we never recommend as a DIY project, no matter how confident the homeowner is. Call (844) 685-4199 for a free estimate on spring replacement.
Typical garage door repairs in the Ventura area run between $150 and $450 depending on the part and the model of your door or opener. Spring replacement, when both springs in a matched pair are replaced together, costs roughly twice the per-spring figure. Every job is priced by a written estimate before any work starts, so you know the final number up front. Call (844) 685-4199 for an exact quote, and the estimate is free.
No. The price you agree to on the written estimate is the price you pay. If we discover additional problems once the door is opened up (a worn cable found during a spring replacement, for example), we walk you through what we found and get your approval before adding anything to the work. You’ll never get an invoice for more than you agreed to. Call (844) 685-4199 for a free estimate on your repair.
Yes. The technicians who perform the work through our network are licensed and insured. We work only with technicians trained on the specific brand of door and opener installed on your home, so the diagnosis is accurate the first time rather than trial-and-error. Call (844) 685-4199 with any questions about credentials or coverage before you book.
Probably not. On modern smart openers (LiftMaster, Chamberlain, and most Genie and Craftsman models with app support), the app connecting doesn’t mean the door is being commanded to move. That pattern usually points to a travel limit, force setting, or safety reverse issue at the opener itself. Firmware and pairing sequences differ by brand and model, so a generic tutorial won’t help. Call (844) 685-4199 and we can walk through it or send a technician.
Once a year is a good baseline for most Ventura homes, and twice a year is reasonable on doors facing the higher-humidity end of the local spectrum or on doors fifteen years or older. The service visit is a diagnostic pass, not just a lubrication run, and it catches wear patterns (cable fraying, spring coil micro-cracks, roller wear) that a homeowner reasonably wouldn’t know to check. Call (844) 685-4199 to book a service visit.
Usually not. The tools themselves are inexpensive (sockets, pliers, a ladder you probably already own), but replacing all rollers at once is a two-person job on most doors, and it doesn’t address the hinge or spring wear that’s often at the root of the problem. For a single roller, DIY is fine. For a full set, a technician visit is faster and comes with a proper balance test. Call (844) 685-4199 for a free estimate.
Often, yes. Same-day repair is available in Ventura on most weekday calls, particularly for common repairs like a cable or spring issue. We answer 24/7, and fast dispatch runs 7am to 7pm, Sunday through Friday. A call outside dispatch hours is booked into the next opening, Sunday through Friday, 7am to 7pm. Call (844) 685-4199 to check availability for your address.
The Bottom Line
Garage door DIY isn’t a single yes-or-no decision. It’s a task-by-task risk calibration, and the line is stored mechanical energy. Lubrication, weather seals, photo-eye cleaning, remote pairing, and visual inspection are reasonable homeowner work, and doing them yourself is fine. Springs, cables, bottom brackets, off-track doors, and smart-opener calibration are professional work, whether you’re handy or not. In Ventura, year-round humidity makes the diagnostic side of professional service more valuable than in drier climates, because DIY lubrication can mask early wear rather than reveal it. When in doubt on any task, call and ask. It costs nothing to get a straight answer, and the price on any repair is quoted and agreed before any work starts. Call Sunridge Garage Door Repair at (844) 685-4199 for a free estimate, and let us get your door back in service.
Written by the team at Sunridge Garage Door Repair.